Almost every inherited sewing kit will have one of these classic tomato pincushions that just seem to appear. They are always hidden amongst the bric-a-brac and tangled with old, still-threaded needles and small colorful pins. But really, what's with the tomato?!
The tomato pin cushion dates back far further than expected. The tomato was a popular motif in Victorian times, and one placed on a mantel was said to bring prosperity to a household. Which is all fine and dandy when tomatoes were in season, but in a time when fresh produce was limited by the seasons (thanks modern, refrigerated global trade), a fabric tomato would work in a pinch to keep the house protected from any bad juju flying around.
These festive little tomatoes will also double as wonderful Christmas decorations, so make a bunch to display loud and proud during the holiday season.
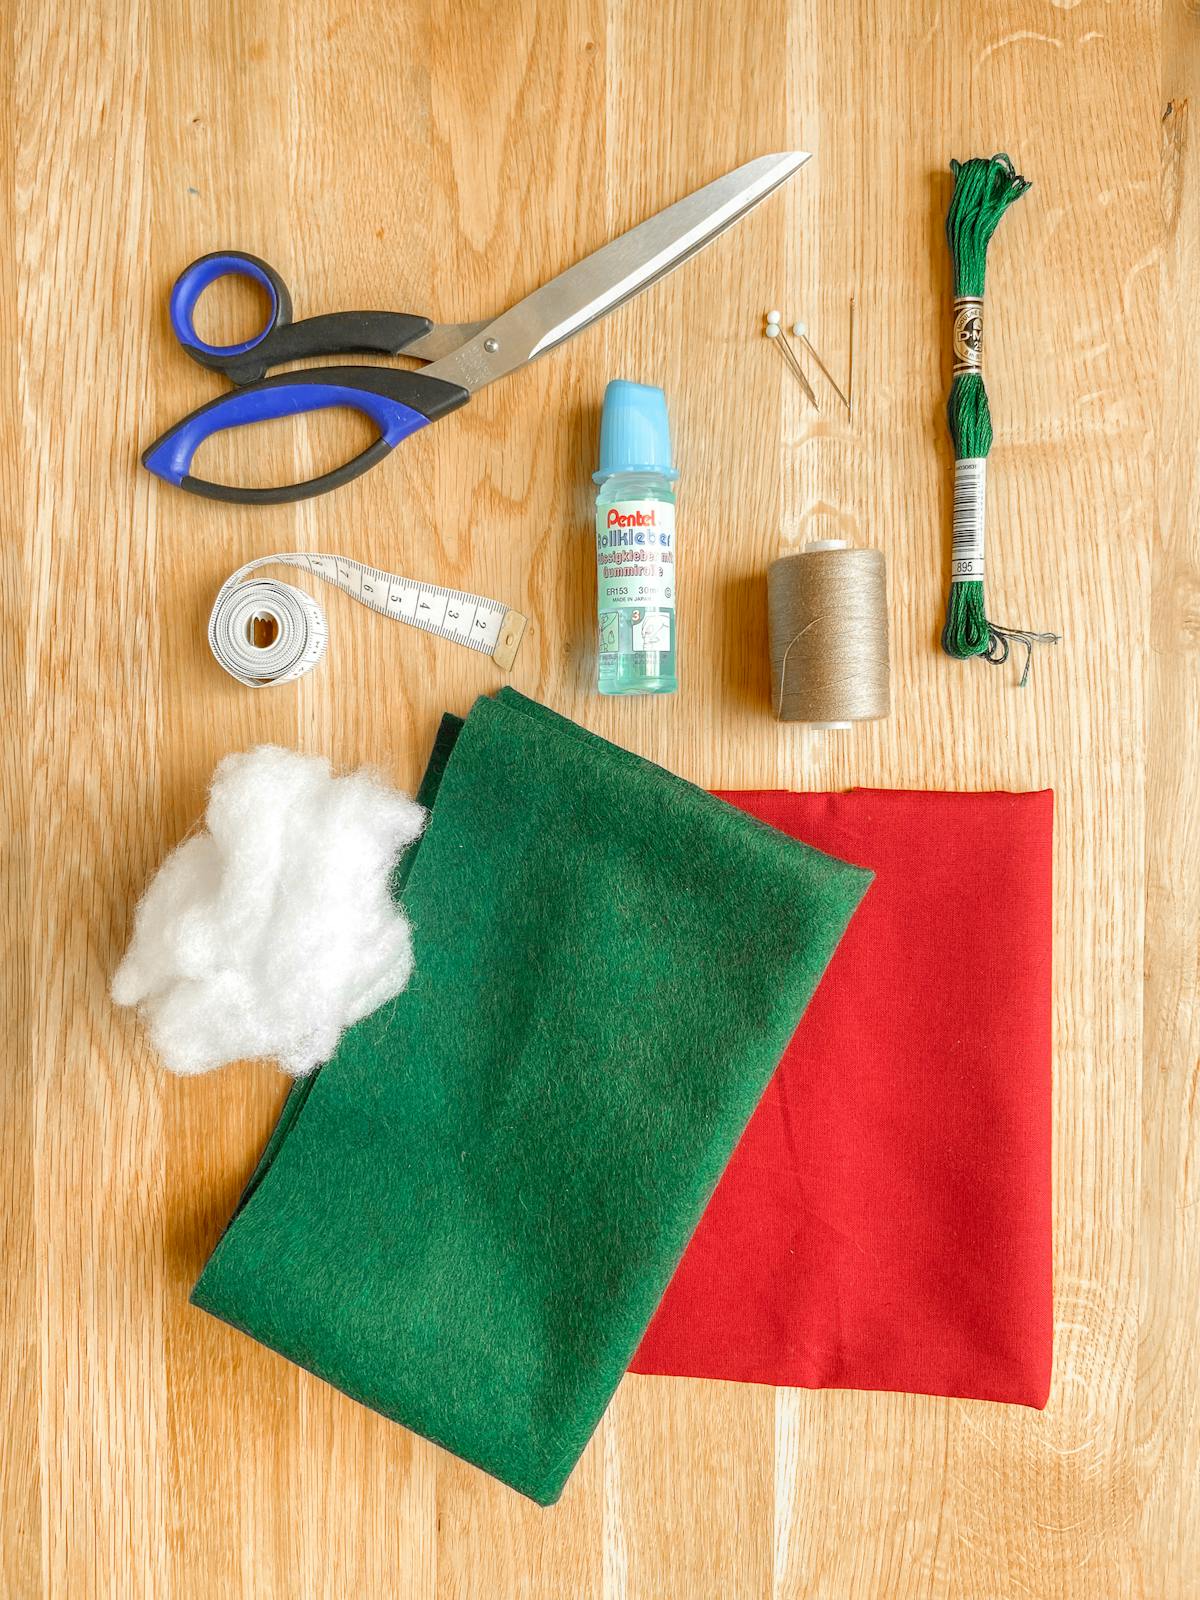
What You Will Need For Your Pin Cushion:
- Woven mid-weight fabric for the body of the tomato (cotton, linen, velvet, etc)
- Felt fabric for the top piece
- Regular thread
- Embroidery (thicker) thread
- A sturdy needle
- Filling of your choice – I used a basic polyester stuffing as it was what had on hand. See additional note at the end for more options.
- Your custom clothing label
Step 1
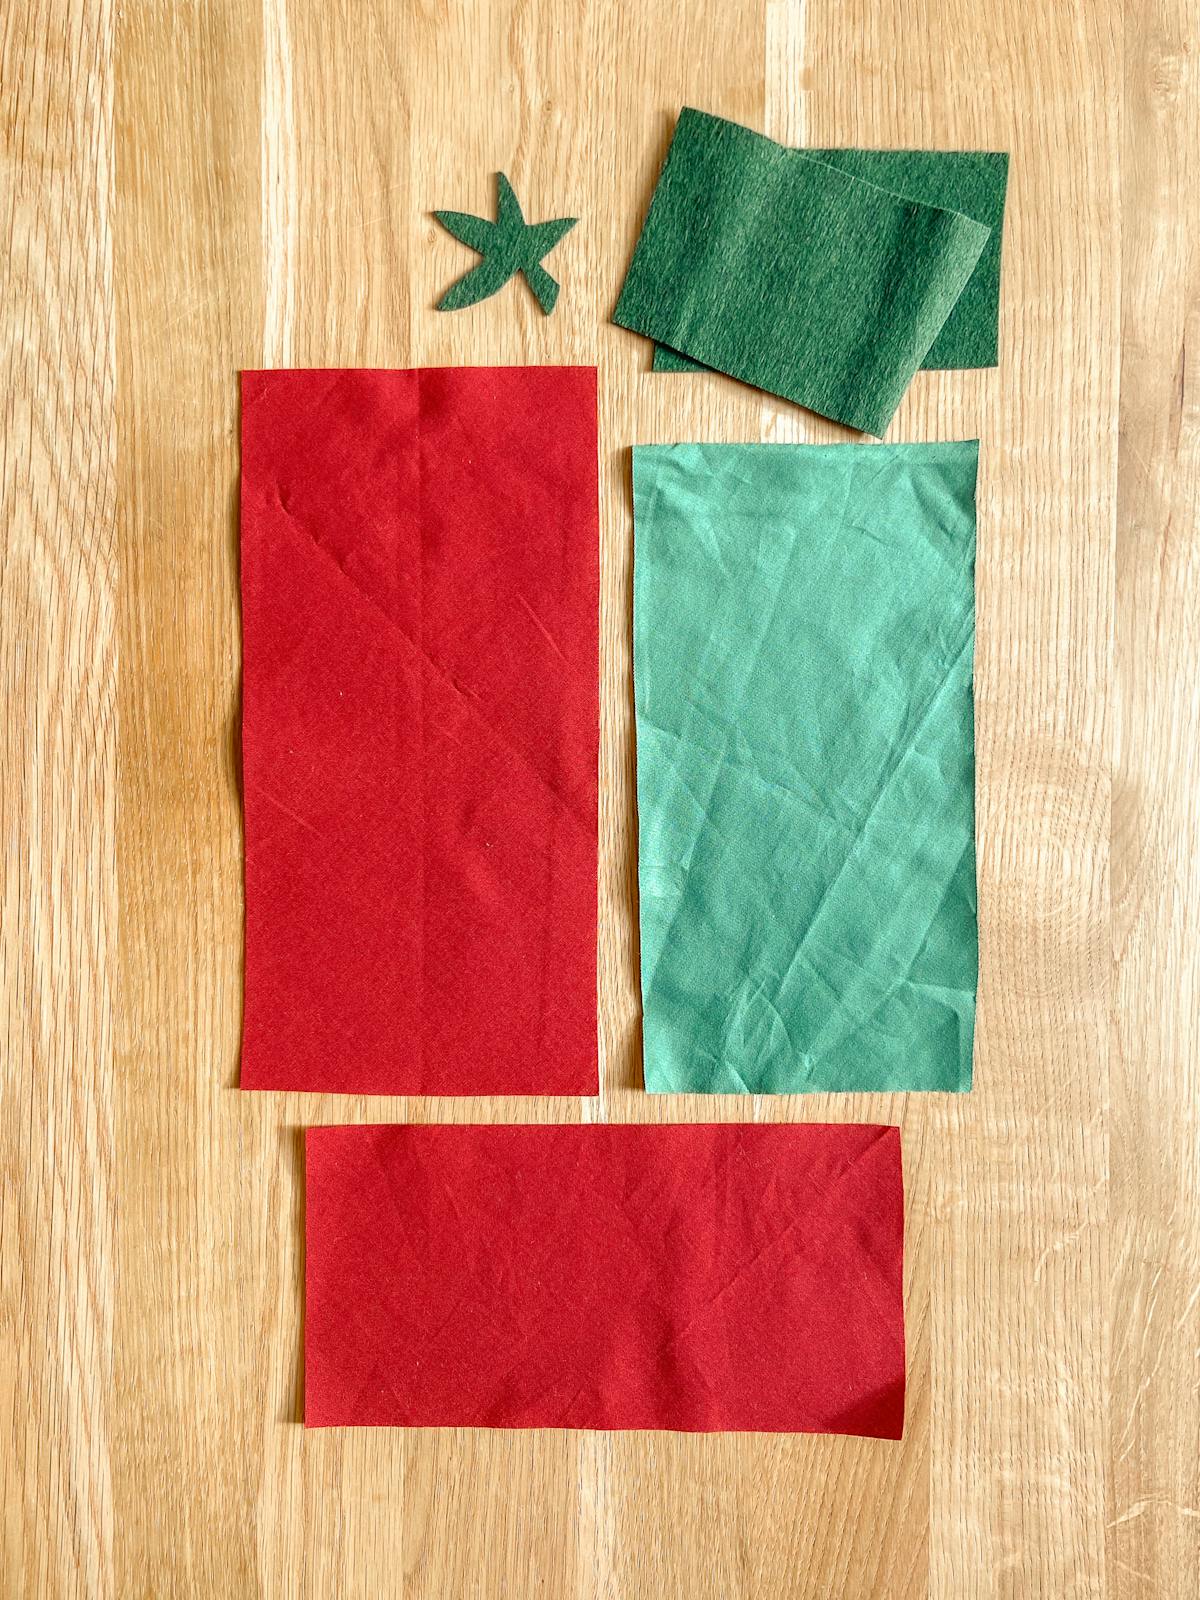
Cut out a rectangle on the bias grain of your chosen fabric. This will be the body of your tomato. The rectangle needs to be twice as long as it is wide.
Note:
I cut 3 sizes (4x8", 4.25x8.5", & 4.75x9.5") as I was having trouble visualizing what the finished size would look like. The completed pin cushions shown in the images are the larger two sizes –4.25x8.5" (green tomato) & 4.75x9.5" (red tomato).
Step 2
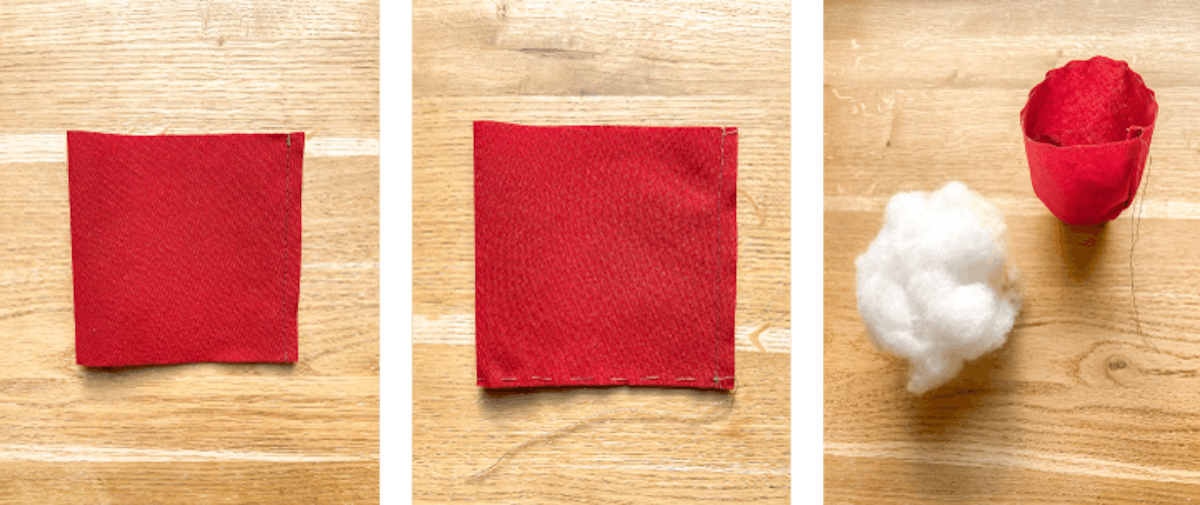
Fold the rectangle in half crosswise, so that the two shorter sides meet with the wrong side of the fabric facing outwards. Sew along this edge (the one that is opposite the fold) using a 1/4" seam width. Once joined it will be a loop.
Step 3
Add a loose running stitch around the bottom, 1/4" from the raw edge. This will be used to gather the bottom of the tomato.
Step 4
Pull both sides of the running stitch so that the bottom gathers up. Tie it tightly, then wrap the threads around this bundle and secure again with a knot.
Step 5
Next, turn your fabric the right way out. The gathered knot you just made will then be on the inside of the pouch, and the right side of the fabric should now be facing out. Stitch another running stitch along the top edge, the same way you did the bottom one.
Step 6
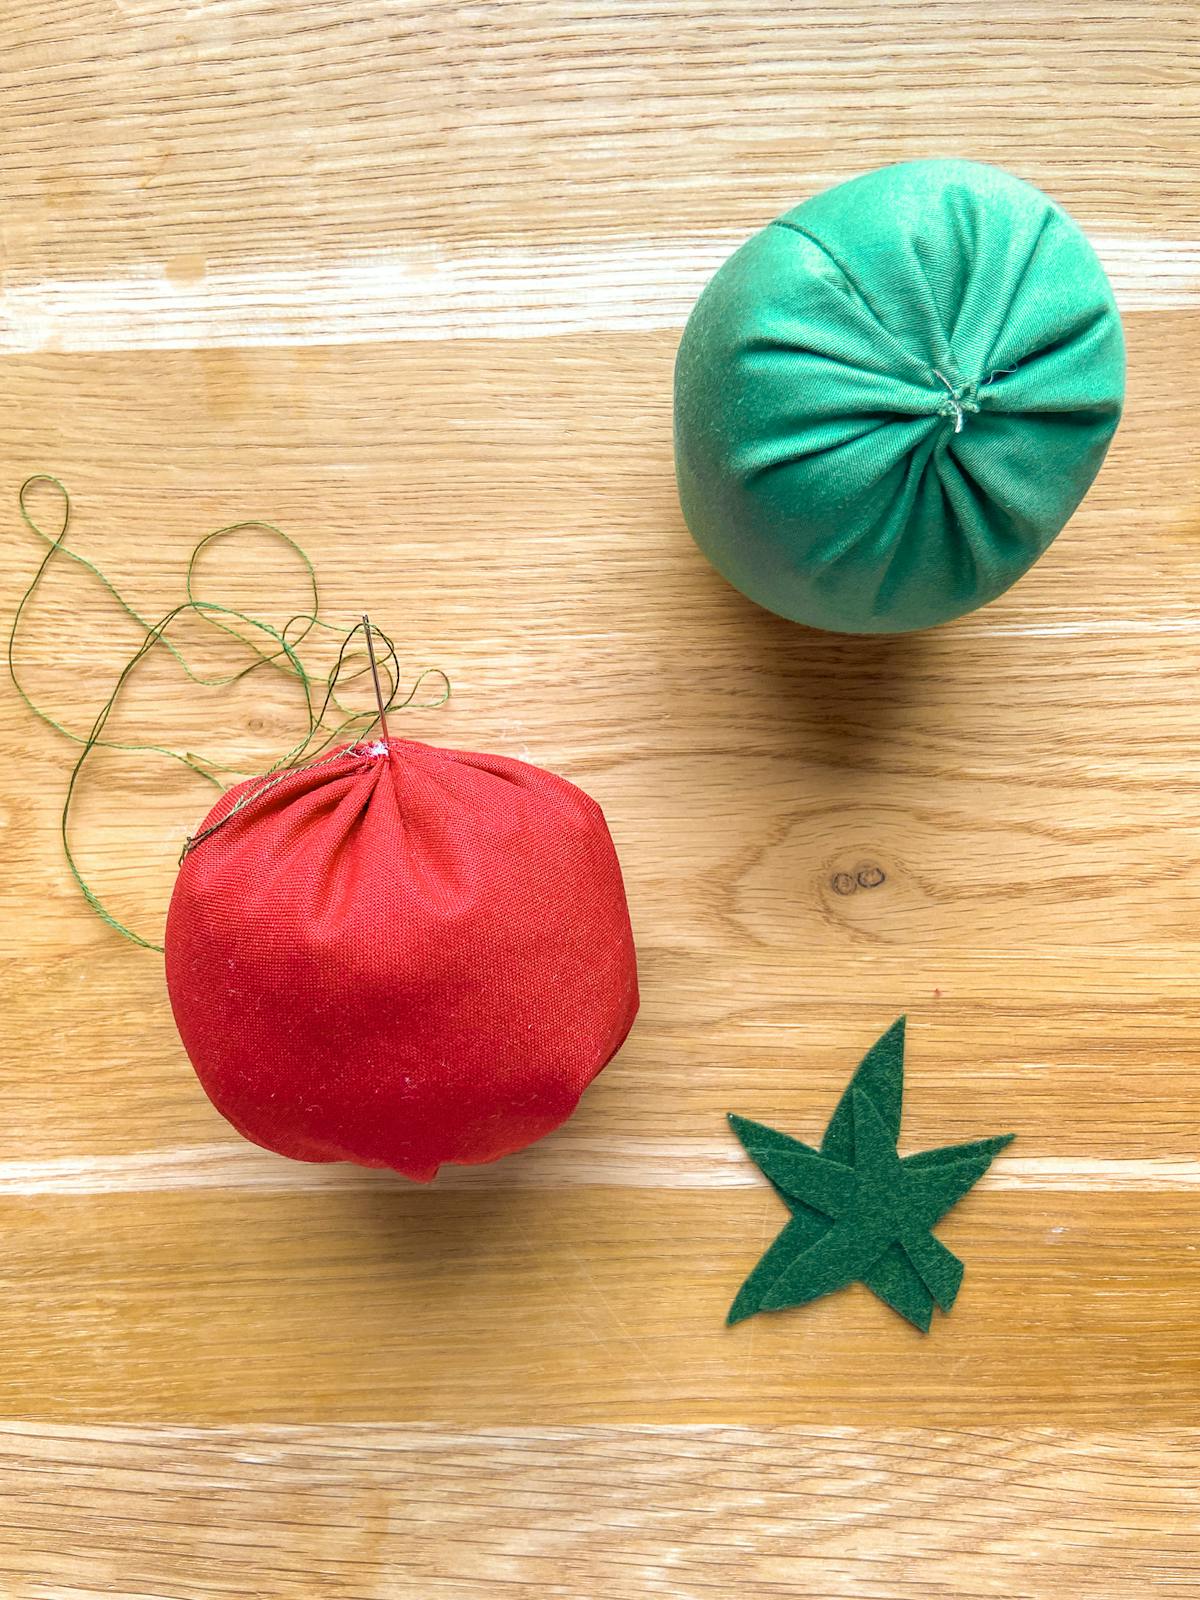
Before gathering the top, you will need to add your stuffing. Fill the pouch so that there is no space inside, and pull the threads to gather it. Once the top hole is closed, you can tie a knot to keep it secure. It should now start to resemble a ball, or better yet, a tomato.
Step 7
To make the segments, thread a needle with some thicker embroidery thread and tie a knot at the end. Starting at the bottom, stitch up through the core to the top of the tomato and around the outside to the bottom again. Pull the thread just tight enough so that it helps to shape your tomato. I added five segments to mine, but you can do however many you like.
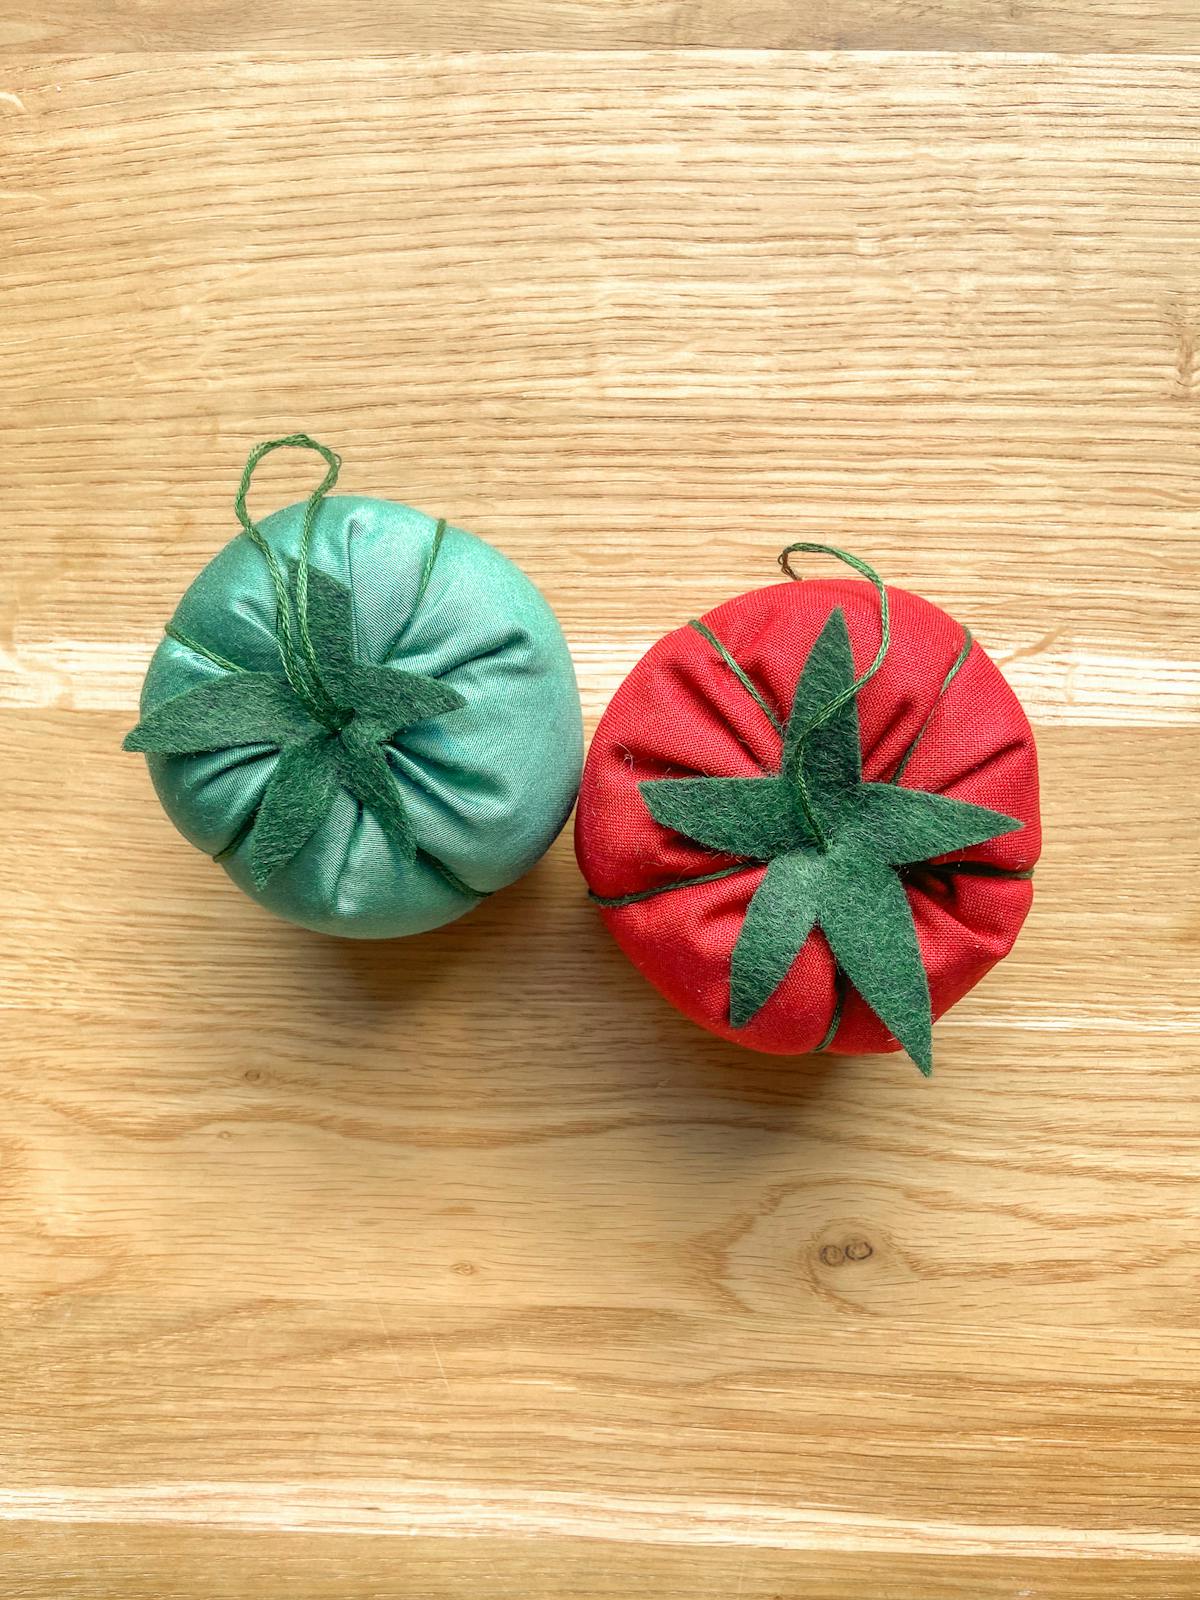
Step 8
Before cutting your embroidery thread, you can stitch on the top of the tomato. Cut a shape loosely resembling a star from your felt fabric, then attach over the top with a stitch. Make sure your star is big enough to cover any messiness at the center top.
Step 9
Finally, knot the yarn and either cut it short or leave a longer piece to resemble the stem. You can also use it to create a loop so your new tomato can be hung up.
Volia! One very cute tomato!
Tips For Your Pin Cushions
- They make great Christmas ornaments! Just choose some fun fabric for your festive baubles.
- You can use this same technique for other fruits. You could easily turn your tomato pin cushion into a strawberry, strawberry, or apples with just a few edits.
- Add a small label to your pincushions if you plan to make them as gifts or to sell. They will look very professional!
What is inside a Tomato Pin Cushion?
The best fillings are something that adds a bit of weight to your pin cushions to keep them stable. Fillings such as rice or ground walnut shells are great as they will also help keep your pins sharp. Or try adding some steel wool to your polyester stuffing which will do the same.


