Celebrate Earth Month this year with eco-dyeing. Natural dyes can be found everywhere around us in berries, roots, leaves, barks, and more. Dyes can be made using many everyday ingredients with rich colors such as beetroot or avocado scraps, so you can give it a go with whatever's on hand. We have tried two different natural dyeing techniques today, so read on for some dyeing inspo.
Tie-dyeing with Turmeric
Even though turmeric has been used for over 4,000 years, it is really having a moment right now. We're seeing it pop up in just about everything these days, from gourmet recipes to lattes, even make up—but we’re going to explore one of its original uses: fabric dyeing.
The spice’s golden yellow hue makes for a richly vibrant natural dye. The trade-off? It is not colorfast, which means that it will fade over time. But hey, that will just give you more opportunities for guilt-free tie-dyeing! Huzzah!
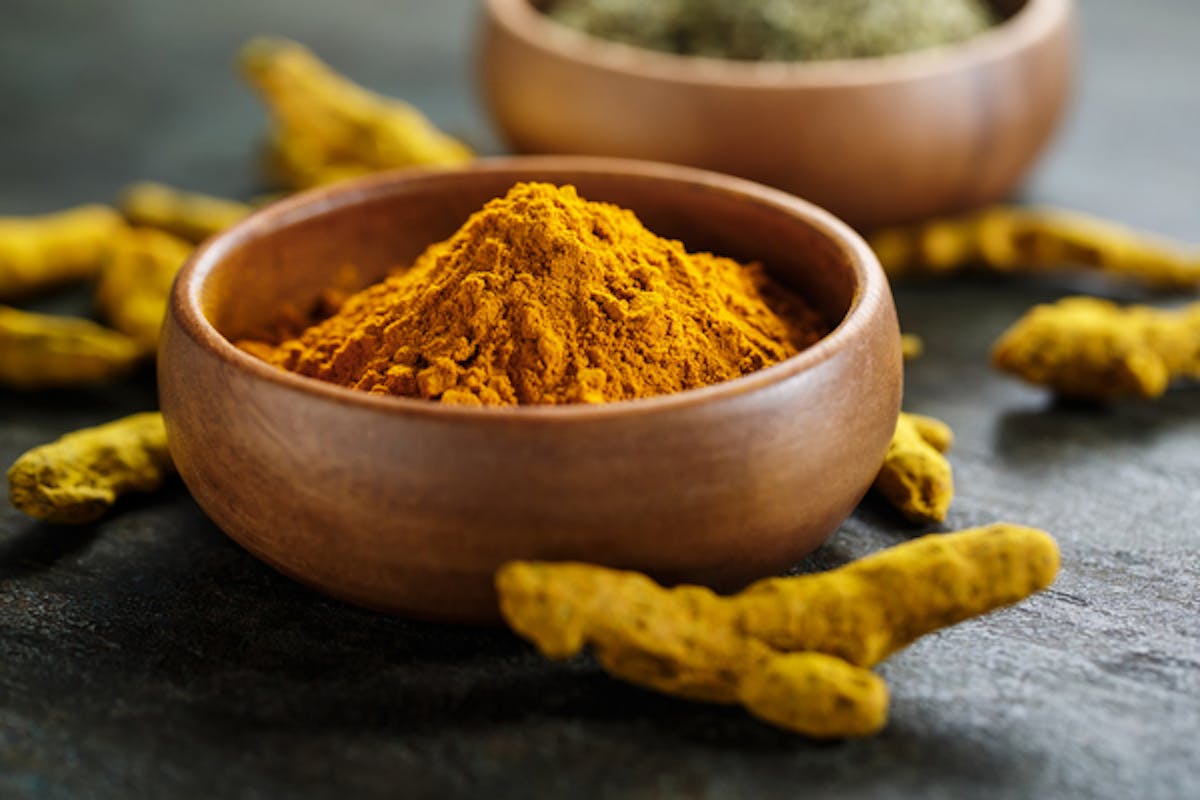
What you’ll need:
-One large pot (we recommend stainless steel, as any enameled finish will come out yellow)
-1/2 to 3/4 cup of ground turmeric powder
-twine or rubber bands
-white cotton clothing or textiles
Step 1:
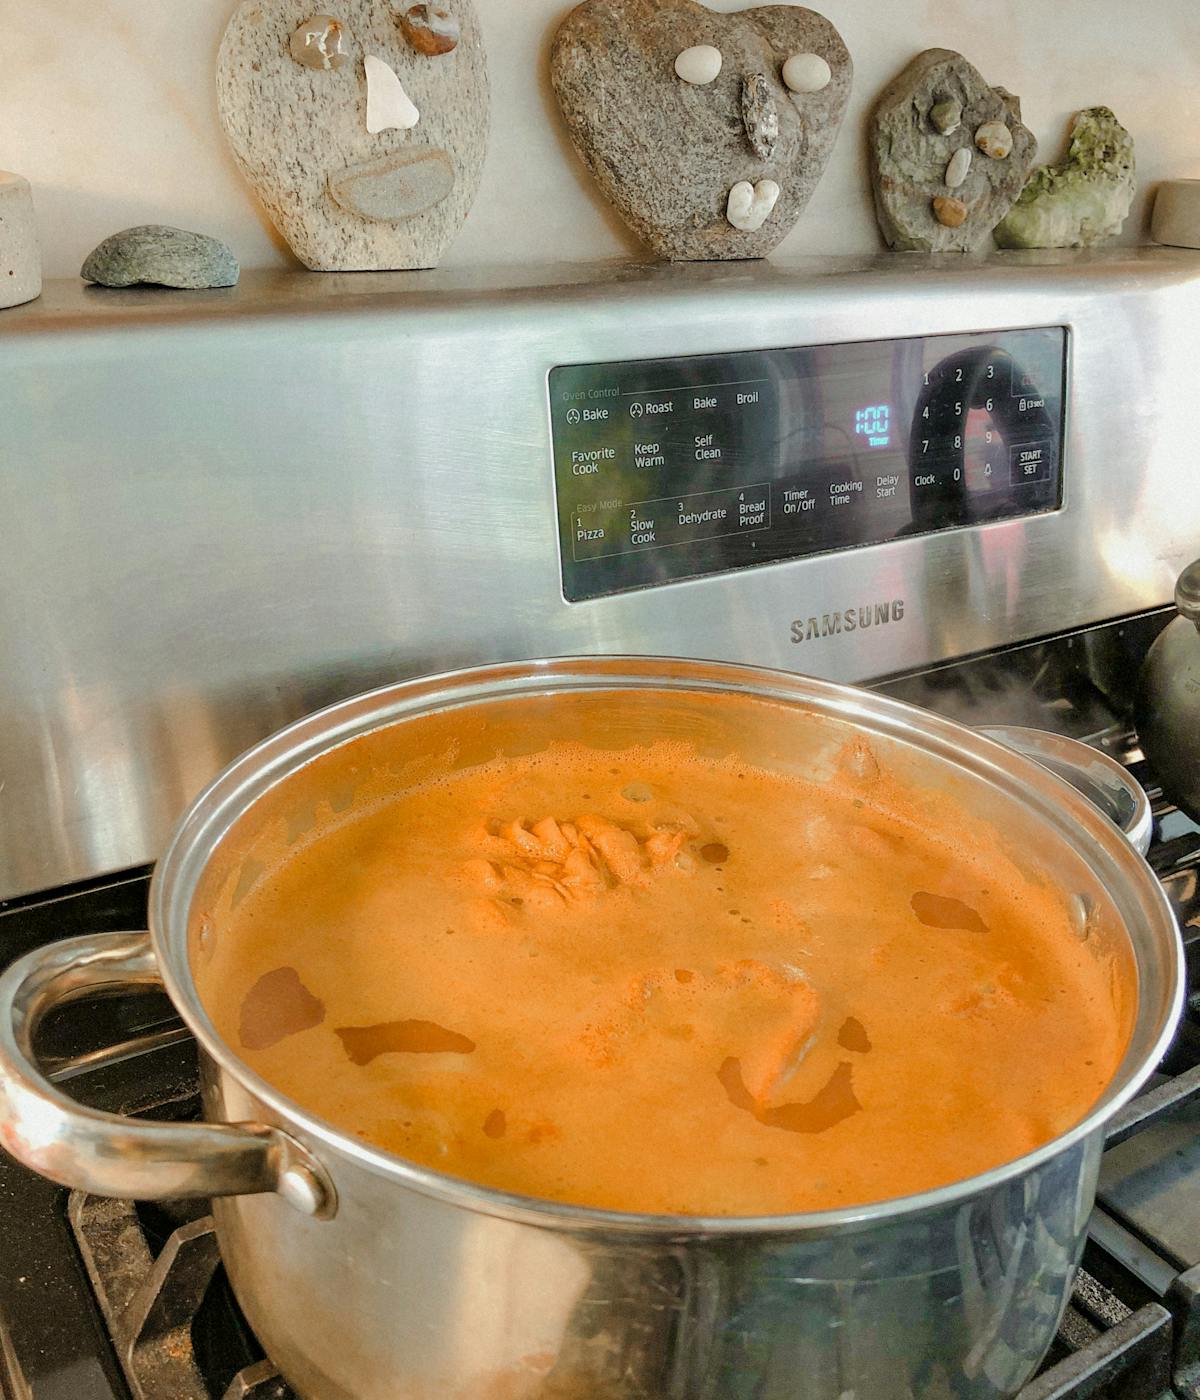
Fill your pot almost all the way with water, keeping in mind that the more things you want to add, the more space from the lip of the pot you’ll need. Add your turmeric (more powder = more saturation, we like to go big) and bring the mixture to a boil.
Step 2:
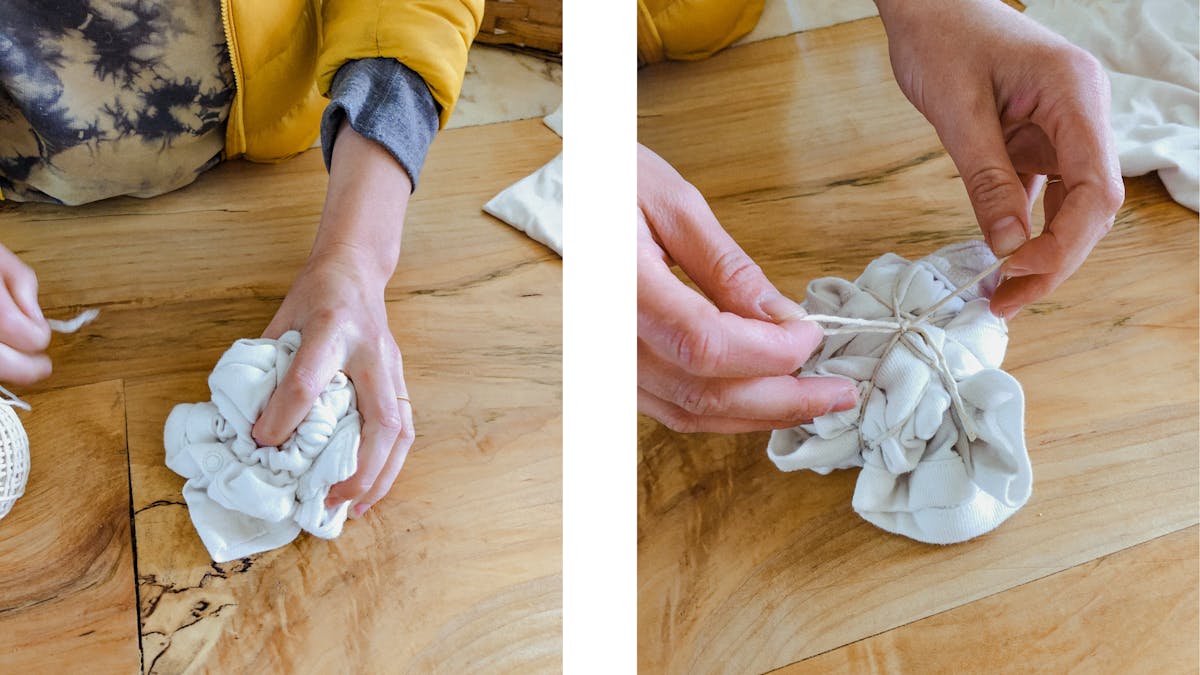
While that’s boiling, get your clothing or textiles all tied up! There are many many techniques for getting swirls, accordion patterns and other psychedelic effects, but we’re big fans of “the hard smoosh”. Just crumple your garment into one big ball and wrap that sucker as tightly as you possibly can. Give it a little artistic twist or fold it a few times if you want, just make sure it’s tight!
Step 3:
By now, you should be smelling the earthy aroma of turmeric. Once your mix is boiling, pre-wet your tied-up balls of clothing or textiles under the faucet, and then carefully place them into your pot with tongs or a big spoon. Turn down the heat but keep your dye mix at a low boil for one hour.
Step 4:
While you wait, try out our super fun, super easy online label design tool, or upload your own design! Either way, you’ve got an hour to kill :)
Step 5:
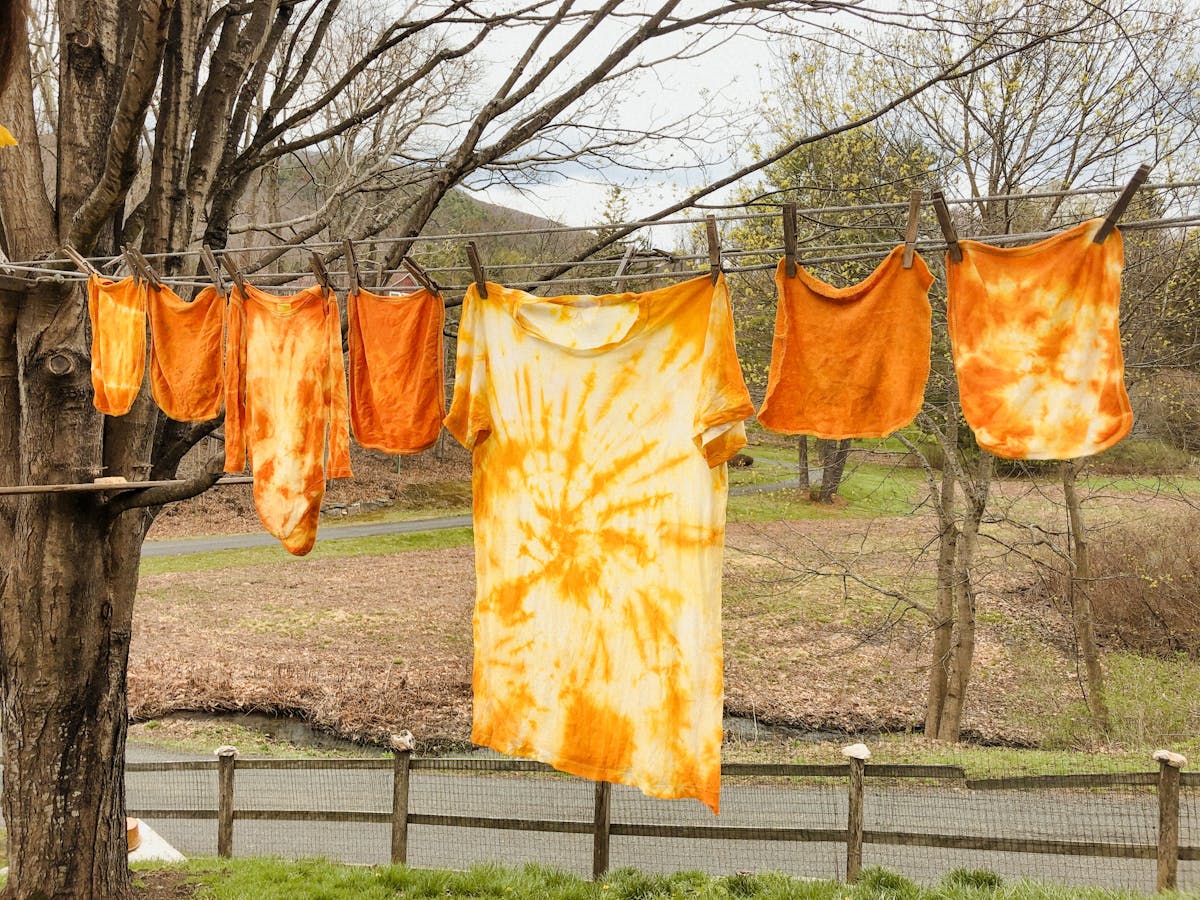
It’s time for the big reveal! Using your tongs or large spoon, carefully remove your garments from the pot and transfer to the sink, bathtub or shower. Once cool, remove your twine or rubber bands and check out your awesome new gear! Give them all a good rinse, squeezing out any excess dye as you do. (Some tie-dyers swear by a final vinegar soak to “set” the dye, but it’s going to fade no matter what you do, so maybe skip the extra step and save yourself another dish to clean).
Step 6:
Let your new stuff dry out all the way before you strut around town (obvi). Pro tip: since turmeric will bleed more than synthetic colorfast dyes, we recommend washing on cold with like colors (or dark colors) the first time. After that, any bleed will be minimal.
Tie-dyeing with Indigo
Synonymous with all things denim, indigo is the most well-known natural dye. This vibrant blue hue is beloved throughout the world with a cult following within the fashion and crafting industries. Dyeing with indigo is a bit more complicated than some other natural dyeing methods as the color comes from a process of fermentation and oxidisation, however these extra steps are part of what makes this such a special color to work with.

Indigo Dyeing: The Beginnings
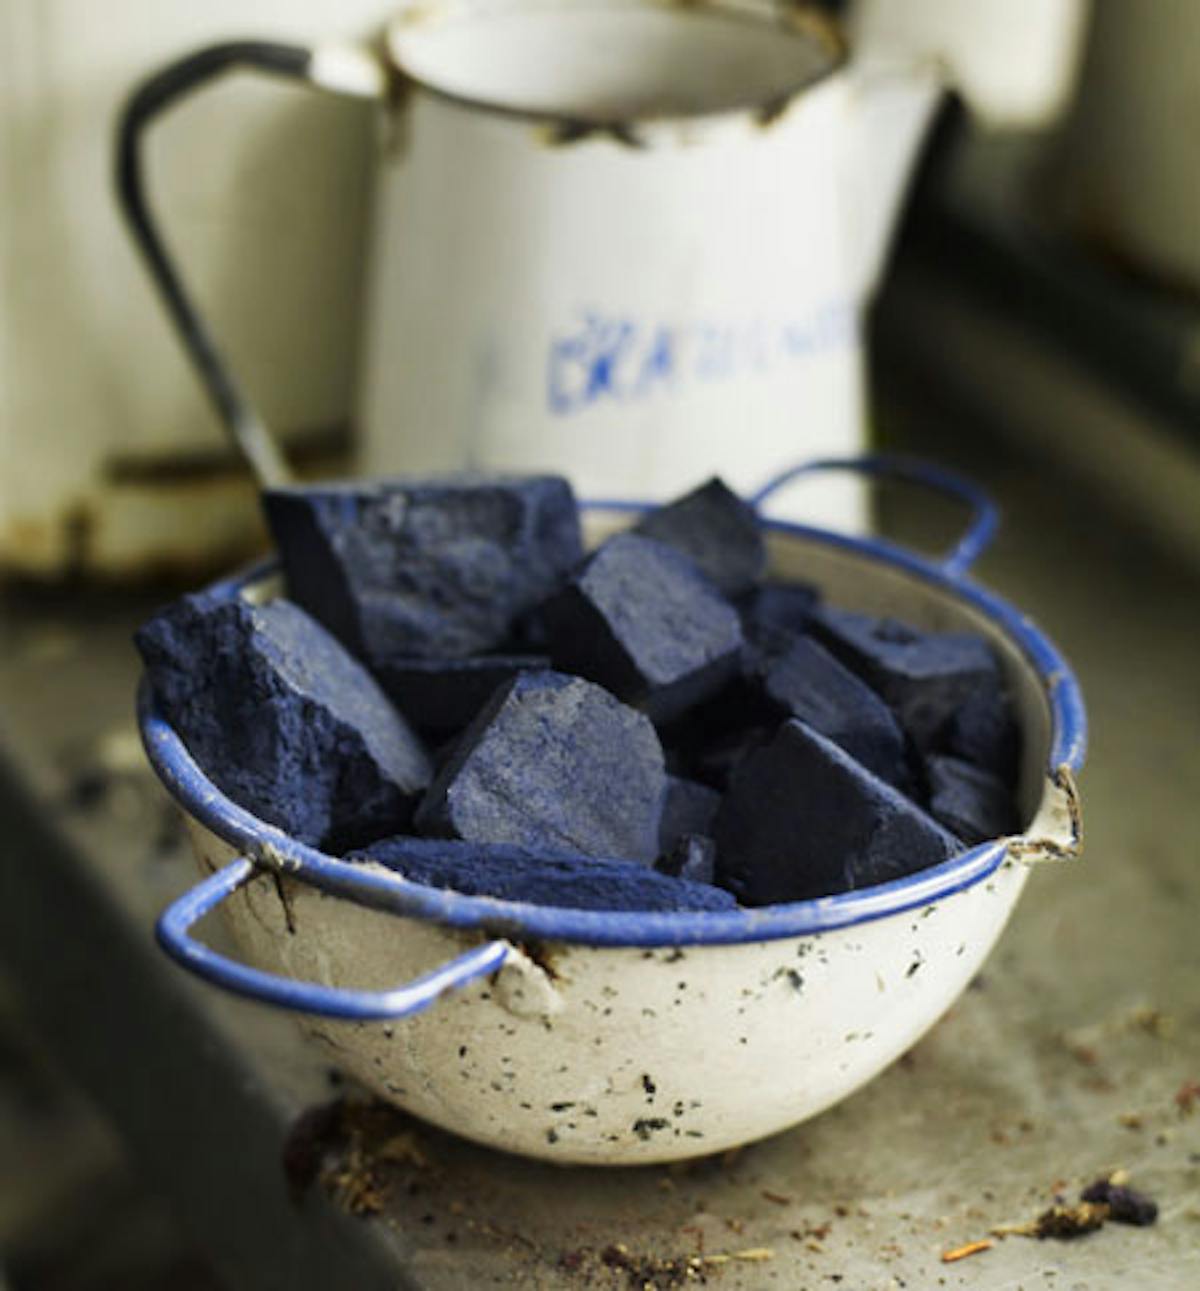
Indigo dyeing is said to have originated approximately 6000 years ago, where remnants of fabrics dyed using this rich blue pigment have been found in Peru. In the East, indigo dyeing has been done for centuries, with India still being one of the largest producers of natural indigo today. The dye can be extracted from any plant containing the indican molecule, but most commonly plants from the Indigofera genus are used. Extracting the color isn't quite a straightforward process for the indigo plant. It involves soaking dried leaves in water until they begin to ferment and a biochemical reaction can happen that converts the indican molecules present into indigotin. This is then mixed with lye, pressed, and dried until it resembles the powdered form we can buy in stores.
Indigo Dyeing: The Indigo Vat
Using indigo as a dye is a little different from other natural dyes. The indigo vat (dye bath) is a living thing, much like a sourdough starter or kombucha. Once the powdered indigo is added, it needs sugars to feed on, specific alkalinity maintained, and a warm climate to thrive in. Without these conditions, the vat can quickly go into a dormant state where the indigo pigments will not be soluble and won’t bond to the textiles you are trying to dye. Once the vat is in an active state though, it will be foamy and lively and will continue to produce vibrant results indefinitely.
Indigo Dyeing: My Process
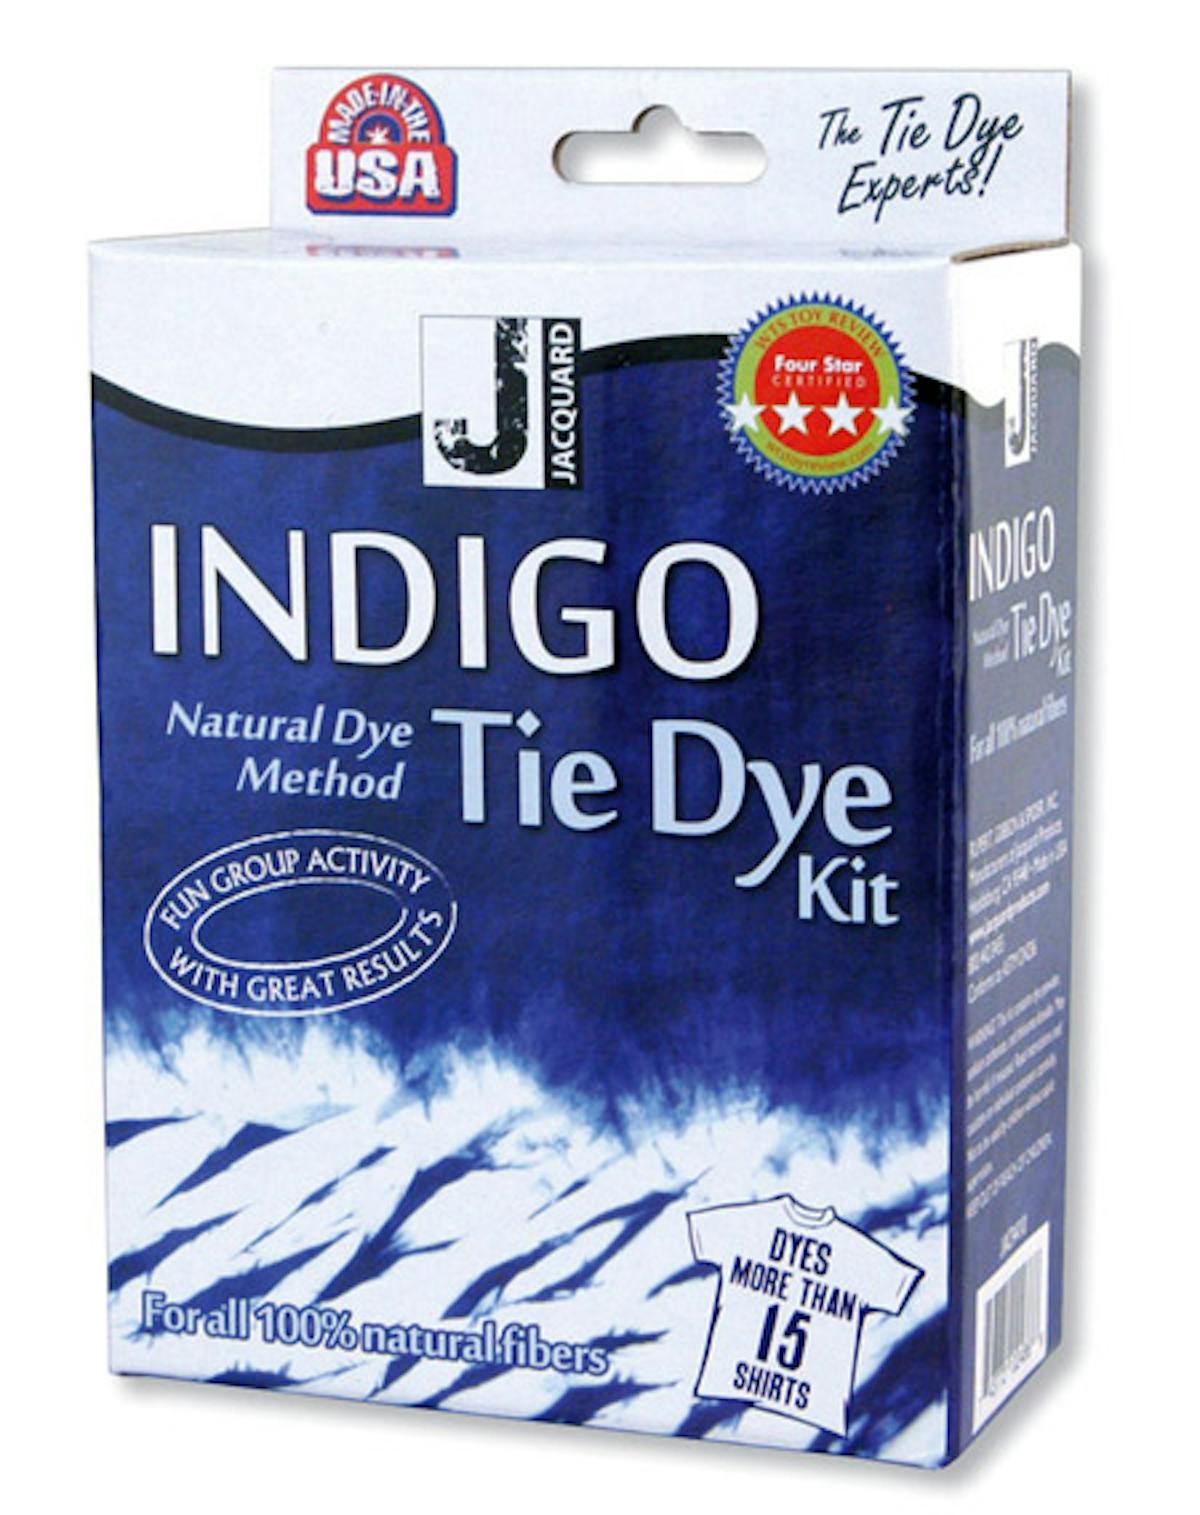
I cheated and took the easy route with this one. Creating an indigo vat is a rewarding process, however one that requires a bit of space. Living in an apartment with no outdoor area or even anywhere to get messy, meant that I can’t go the whole way with this one, but this kit (pictured) by Jacquard Products gave me a chance to experiment with the color at least.
Everything is portioned out and ready to go which makes a kit like this ultra-easy for beginners or those with less space, so I can highly recommend it (I bought mine from Amazon). The kit contains almost everything you need other than the items to dye (needs to be natural fibers such as cotton, linen, wool, or silk) a large basin to put the dye in – around 10 gallons, and a long stick for stirring. Follow the instructions that come with the kit for the best results.
Indigo Dyeing: Trying Shibori Tie-Dye Patterns
Shibori is generally considered to be the grandfather of tie-dye, with beautiful, intentional, and unique patterns created onto the surface of textiles. It is an ancient Japanese craft where tight folds, creases, and gathers are made using thread or yarn. This creates a method of dyeing called 'shape resist' or often more commonly known in the West now as tie-dye. Shibori and indigo dyeing go hand-in-hand, so trying a few of these methods was a no-brainer.
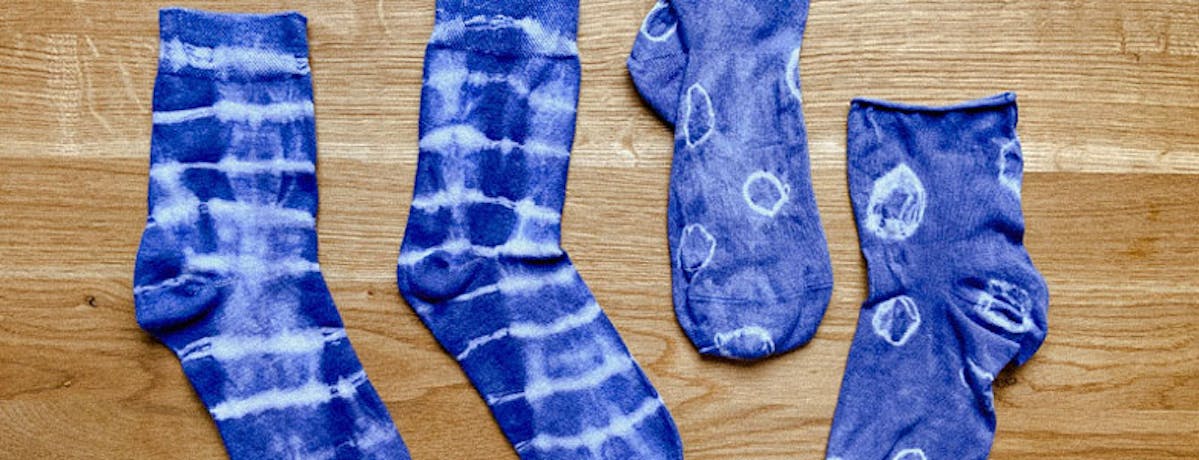
The first method I tried with my socks was Kanoko Shibori. This involves tying the fabric in increments (i used rubber bands) where you want the dye to resist. I rolled the socks tightly first before tying rubber bands tightly down the length of the socks.
The second method I tried was called Kumo Shibori. For this, I very lightly drew circles using pencil all over the socks then wrapped twine tightly around the circles. I experimented with adding more twine to some of the circles and those are the ones in the final results that have less of a defined circle outline.
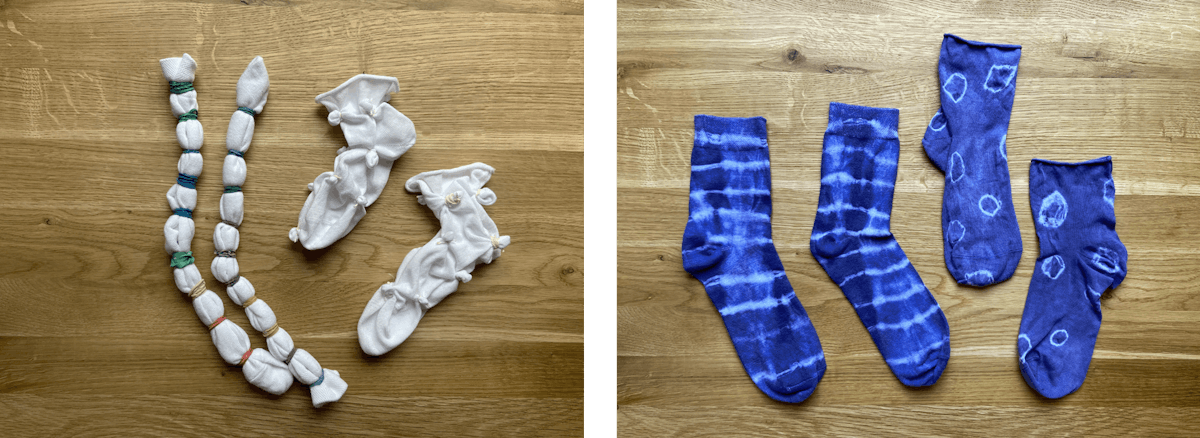
All in all it was a very fun project and a great way to dip my toe (ahem, I mean sock) into the world of Indigo Dyeing. Comment down below, reach out to us on Instagram, Facebook, or Twitter, post on social media using #DutchLabelShop to let us know your favorite natural dye or a special technique you like to follow!


