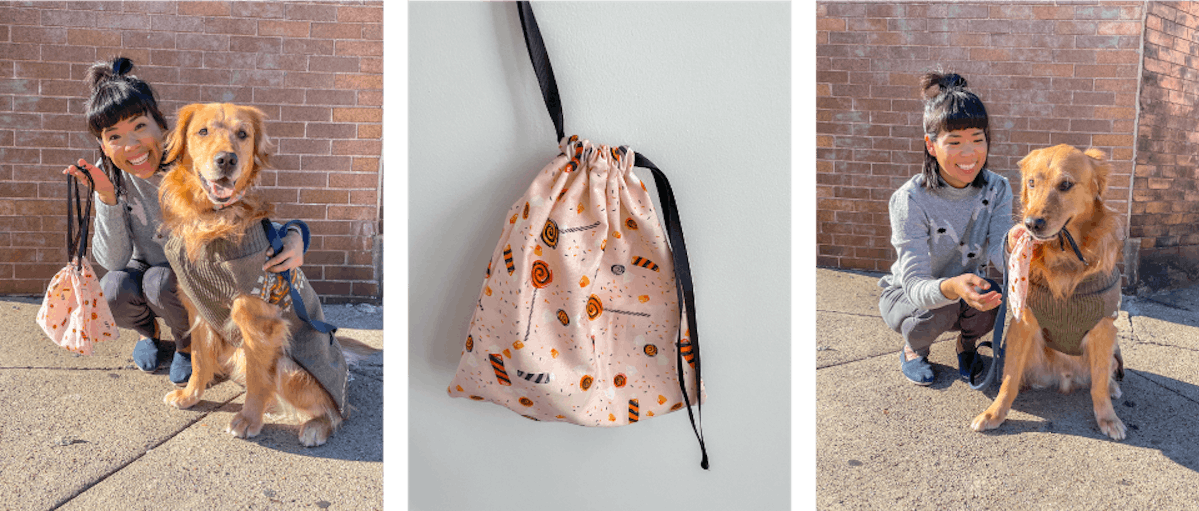
Drawstring bags are great for everyday use to store, organize or collect all your belongings! You can customize your drawstring bag to any shape or size your heart desires. Keep reading to learn step by step how to make your own drawstring bag!

First thing first: gather your supplies.
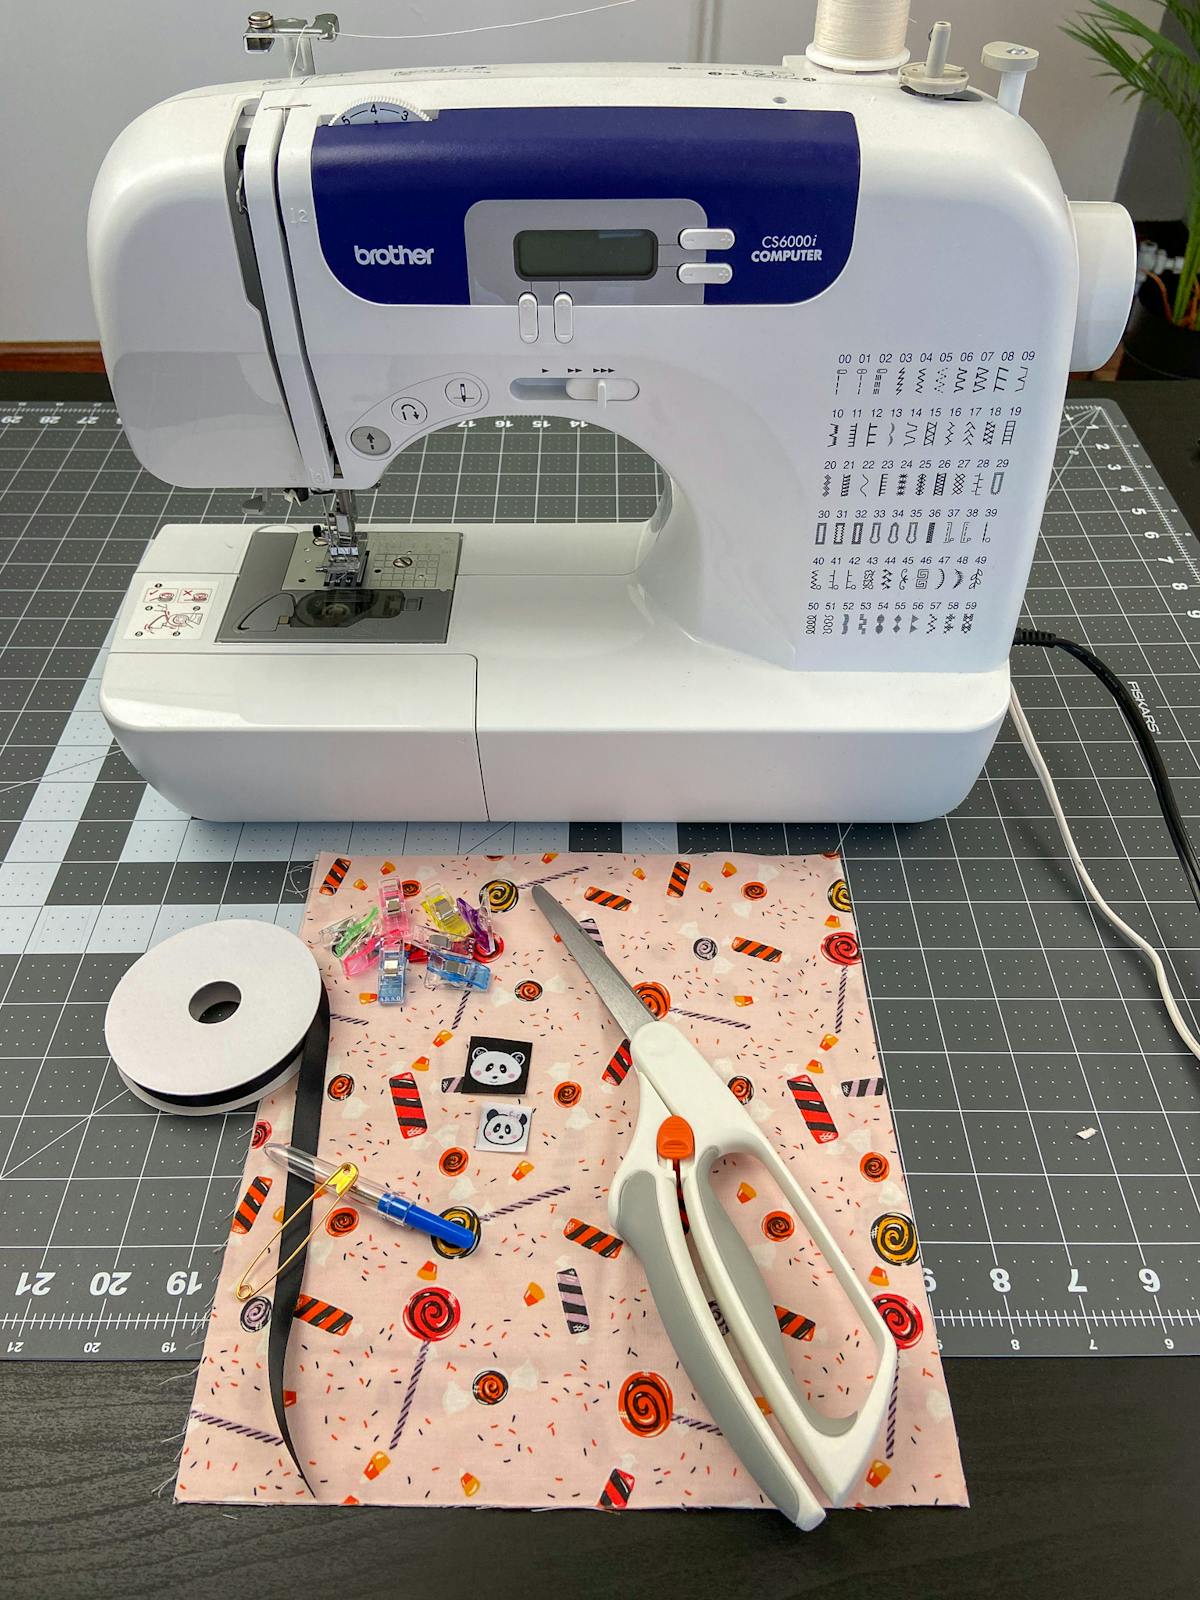
DIY Drawstring Bag Supplies:
- Fabric of your choice [I’m using 100% cotton]
- Sewing Machine (ideally, but a simple needle and thread will work, too)
- Sewing pins or clips (optional)
- Scissors
- Safety Pin
- Thread and needle
- Ribbon [I’m using 1/2 inch wide ribbon]
- Personalized labels from Dutch Label Shop

Step 1
Start with two identical pieces of fabric. I’m using 10x10 inch square pieces of fabric. Remember your finished product will be smaller than the starting pieces of fabric. Take the raw edge along the right and left side of the bag and fold it in towards the wrong side of the fabric about ¼ inch and stitch. Complete this step for both pieces of fabric as this will prevent the ends from fraying.

Step 2
Take the raw edge of the top and fold it down towards the wrong side of the fabric about 1 inch and stitch across using a ¼ inch seam allowance to make the drawstring openings. Repeat on the other piece of fabric.

Step 3
Place the two fabric pieces right sides together, clip into place, and stitch down the edge, across the bottom and up the other edge with a 3/8” seam allowance. Avoid stitching the drawstring opening by starting 1 inch from the top and stopping 1 inch before the top on the other side.

Step 4
Clip the corners and turn the drawstring bag right side out. Take a pointed object (e.g. pen, marker, scissors, chopsticks) to help push out the corners.

Step 5
Start on one side of the bag and attach the string (I’m using ribbon) to a safety pin. Insert the string through the drawstring opening at the top and loop it through all 4 holes. Then, start on the opposite side of the bag and repeat with the other string. You want to make sure you have one loop and two ends of the drawstring on each side so that the bag will close when you pull them simultaneously. Tie the two ends together on each side of the bag and pull closed to test your drawstring bag.

Step 6
Find a location to add your personalized iron-on label from DLS!

And that's it! Congratulations! You just made your own drawstring bag! :) We also have a step-by-step DIY drawstring bag video guide, if you want to follow along.
Let us know what you think and share your photos of your own DIY drawstring bag with us on Instagram, Facebook, or Twitter.


