Sewn-on patches are a durable way to customize clothing, hats, and accessories—but what if you need to remove one? Whether you're updating a design, fixing a mistake, or repurposing fabric, knowing how to remove a sewn-on patch properly is key to avoiding damage to your garment.
In this guide, we’ll walk you through the best techniques for removing stitched embroidered patches from clothes, shirts, and hats, along with pro tips to keep your fabric intact.
How to Remove Stitched Patches from Clothes
If you’re wondering how to remove stitched patches from clothes, the process is straightforward—but requires patience and the right tools.
What You’ll Need:
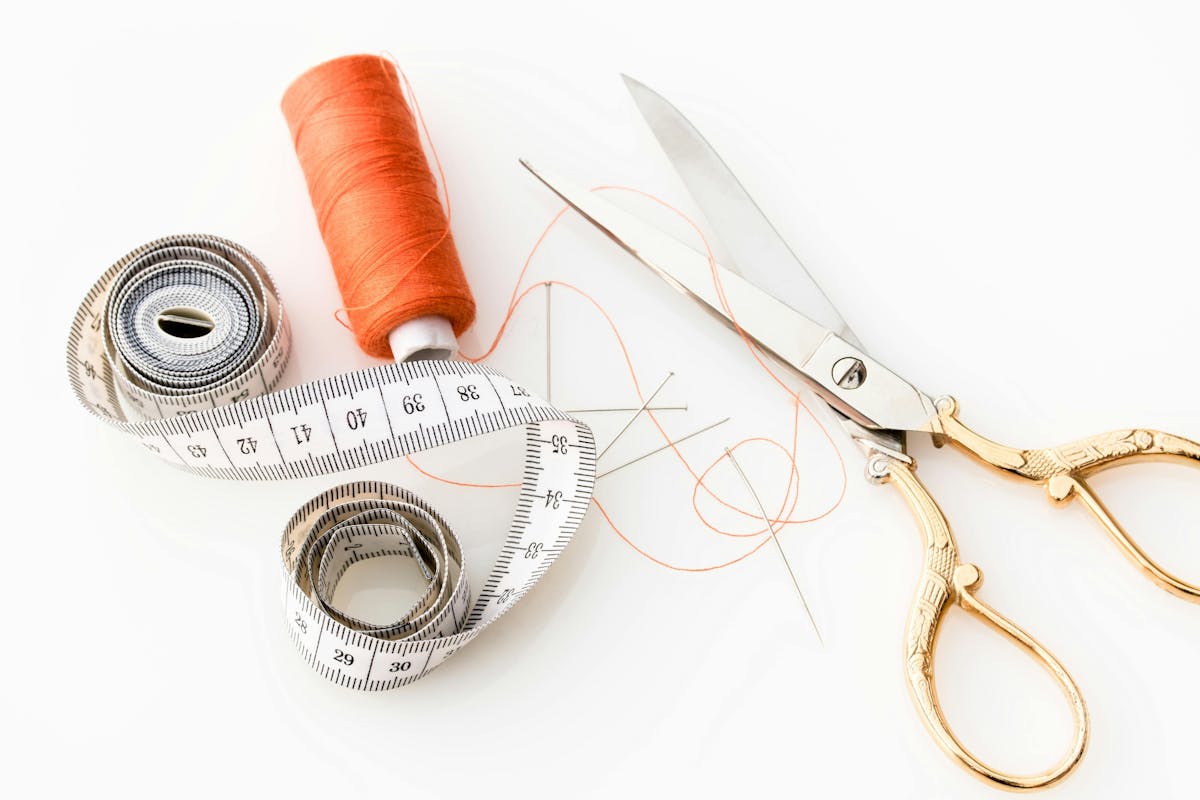
- A seam ripper or small embroidery scissors
- Tweezers
- A lint roller or fabric shaver (for any leftover threads)
- Mild detergent (if you need to clean the area afterward)
Step-by-Step Instructions:
- Turn the clothing inside out – This will give you access to the back of the stitches, making it easier to remove them.
- Use a seam ripper to cut the stitches – Slide the seam ripper under each stitch and gently pull up to break the thread.
- Work slowly to avoid tearing the fabric – If using embroidery scissors, carefully snip each stitch without cutting the fabric.
- Remove loose threads with tweezers – Once the patch is off, use tweezers or your fingers to pull away any remaining thread.
- Smooth out the fabric – Use a lint roller or fabric shaver to remove any fuzz or loose fibers.
Pro Tip: If the patch leaves behind small needle holes, gently steam or iron the fabric to help close them up.
How to Remove a Sewn-On Patch from a Shirt
Shirts are typically made from lighter fabrics, so removing a patch requires extra care to avoid damaging delicate materials like cotton, silk, or polyester.
Best Method for Shirts:
- Find the stitches – If the patch was sewn directly onto the shirt (rather than onto an extra fabric layer), be extra gentle when removing stitches.
- Use a seam ripper or sharp embroidery scissors – Cut each stitch one by one rather than pulling at the patch, which can stretch or tear the fabric.
- Lift the patch carefully – Once the stitches are loosened, slowly peel back the patch. If it resists, check for any remaining stitches and cut them.
- Remove leftover thread – Use tweezers to pull out small bits of thread stuck in the fabric.
- Wash and iron – If there’s an imprint from the patch, wash the shirt and lightly steam the area to help the fabric return to its original shape.
Pro Tip: If your shirt fabric is fragile, place a thin cloth between the fabric and the iron to prevent scorching when steaming.

How to Remove a Sewn-On Patch from a Hat
Hats, especially structured caps and beanies, often have tighter stitches that can be harder to remove. When removing hat patches, the key is to go slow and avoid pulling too hard, which could warp the hat’s shape.
Steps for Removing a Patch from a Hat:
- Check how the patch is sewn on – Some patches have a double row of stitches for extra durability, so be prepared to remove multiple layers of thread.
- Use a seam ripper to break the stitches – Start at the edge of the patch and gently work your way around to avoid pulling too hard.
- Remove the patch slowly – Once most of the stitches are gone, pull the patch off gently.
- Clean up the thread marks – Use tweezers to pluck any leftover threads and a lint roller to remove small fabric pieces.
- Reshape the hat if needed – If the hat’s fabric appears stretched or creased, lightly steam it or stuff it with paper to help it regain its shape.
Pro Tip: If your hat is made of delicate or synthetic fabric, avoid using too much force, as it could cause pilling or fraying.
Tips for Safely Removing Sewn-On Patches Without Damaging Fabric
- Be patient – Rushing can lead to ripped fabric or stretched material. Work slowly and carefully.
- Use the right tools – A sharp seam ripper or embroidery scissors will make the process easier and cleaner.
- Check the fabric type – Delicate fabrics need extra care, while thicker materials like denim can handle more force.
- Steam or iron the area afterward – If you notice small holes or an imprint left behind, steaming or ironing can help smooth out the fabric.
- Wash the garment if needed – If adhesive residue or stitch marks remain, washing the fabric can help restore its original look.
Removing a sewn-on patch doesn’t have to be difficult—with the right technique, you can easily swap out designs or repurpose your clothing without damaging the fabric!
Refresh Your Clothes with Ease
Now that you know how to remove a sewn-on patch from shirts, hats, and other garments, you can confidently update your wardrobe without leaving any damage behind. Whether you’re making room for a new design or simply switching styles, the right tools and techniques will help you get the job done smoothly.
Looking for new patches to replace the ones you’ve removed? At Dutch Label Shop, we offer custom embroidered, iron-on, and woven patches to personalize your clothing and accessories. Order your custom patches today!


