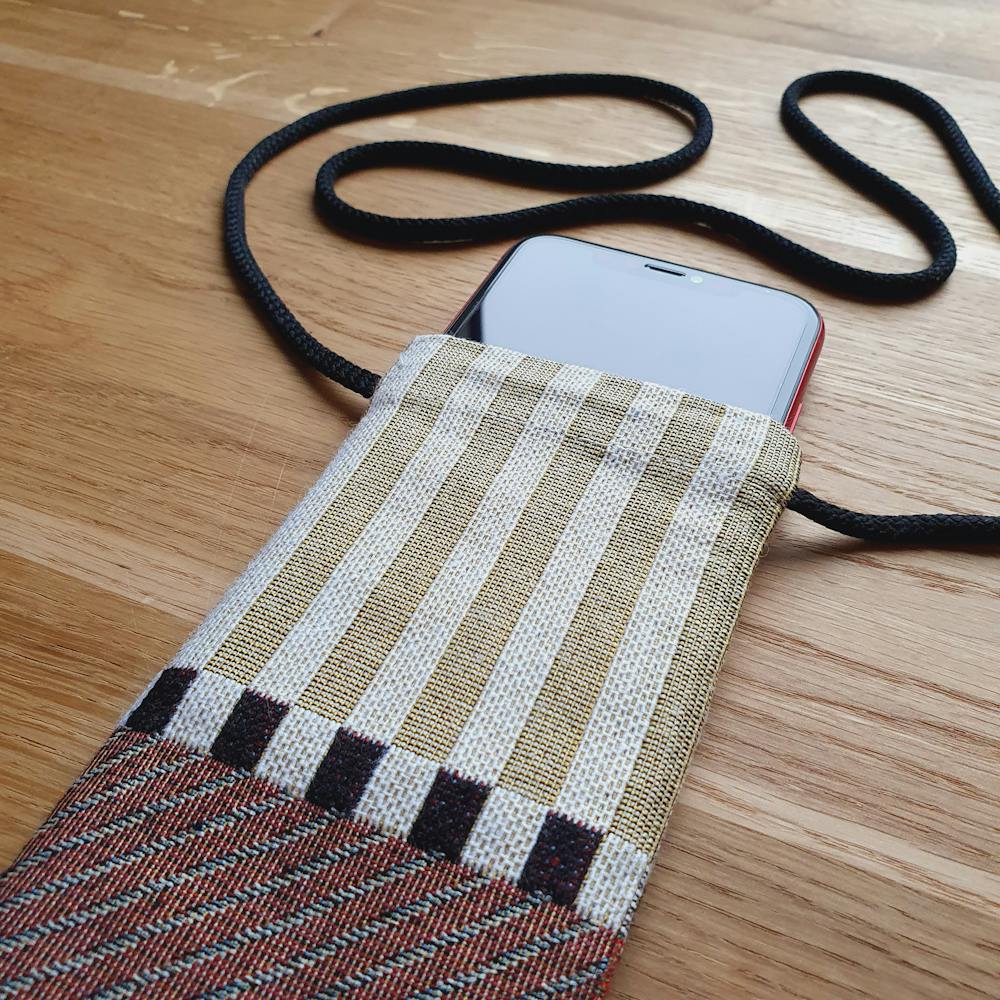
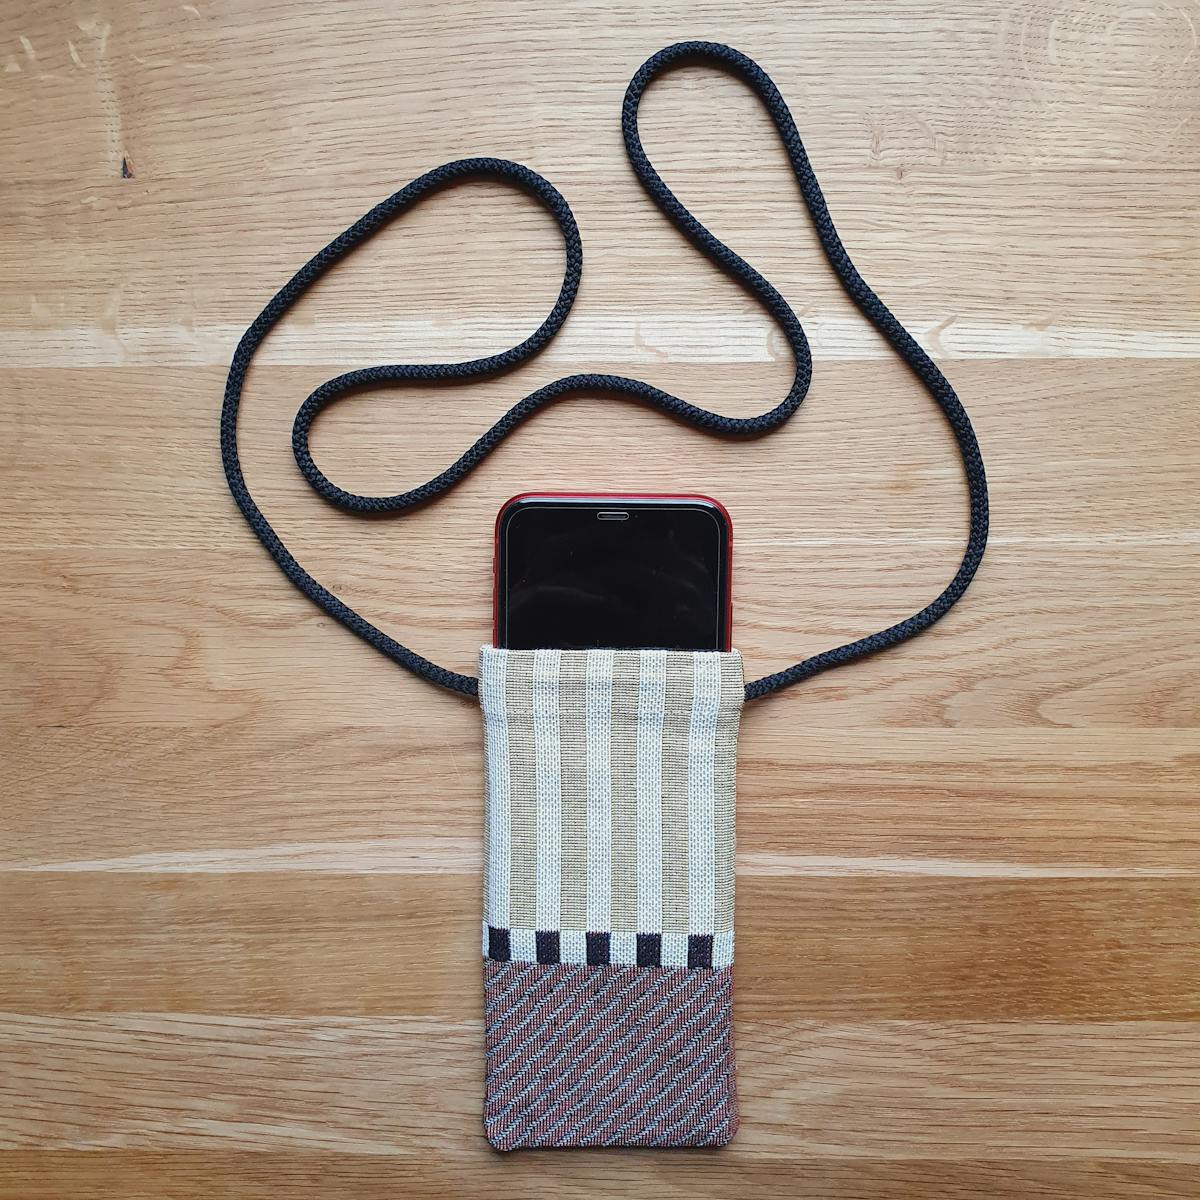
If you are looking for a way to protect your new iPhone or smartphone, a phone sleeve is the perfect next sewing project. They are a super quick whip up so you can have one finished in under an hour, and they make a great project for children and beginner sewists to try. I recommend adding a strap to yours, so you can keep your smartphone handy at all times, ideal for festivals, concerts, fairs, and travel!
What you will need to sew a smartphone sleeve:
- Fabric – Choose a heavyweight fabric to keep your smartphone better protected from rough surfaces.
- Thread
- An Iron
- Ruler
- Scissors
- Pins
- Sewing machine – There isn’t much sewing on this, so it can be done by hand using just a needle and thread if you don’t have a sewing machine handy.
Optional extras:
- Lining for your fabric – Such as a quilted fabric for extra protection.
- Velcro/snaps/button – Add one to the top so that your phone stays securely inside.
- Drawstring / long strap – Gives you the option to wear it around your torso. I repurposed a drawstring that had come out of an old hoodie.
How to make your smartphone sleeve:
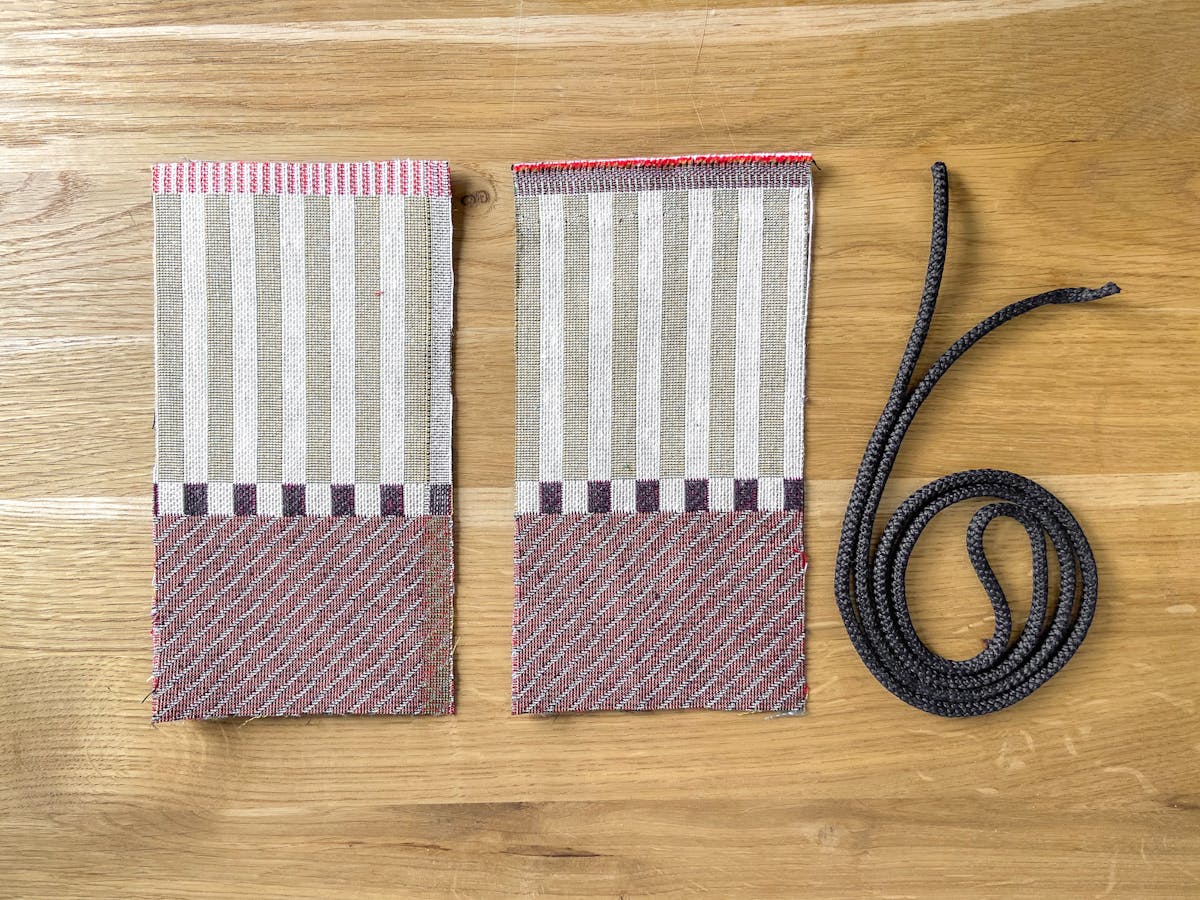
Step 1: Choose your fabric and cut 2 matching rectangles according to the measurements of your iPhone or smartphone, making sure to include at least a ¼ inch extra on each side for seam allowance and then a bit more for ease. I have an iPhone 11 (5.94 x 2.98in) so added ¼ inch to 3 sides and 1.25 inches to the top, for seam allowance. I then rounded this up for a bit of extra room, making the finished measurements of my two pieces 7.50x3.75 inches. Note: If you have a hard case on your phone, consider adding a little more to each side (⅛ of an inch or so should be fine).
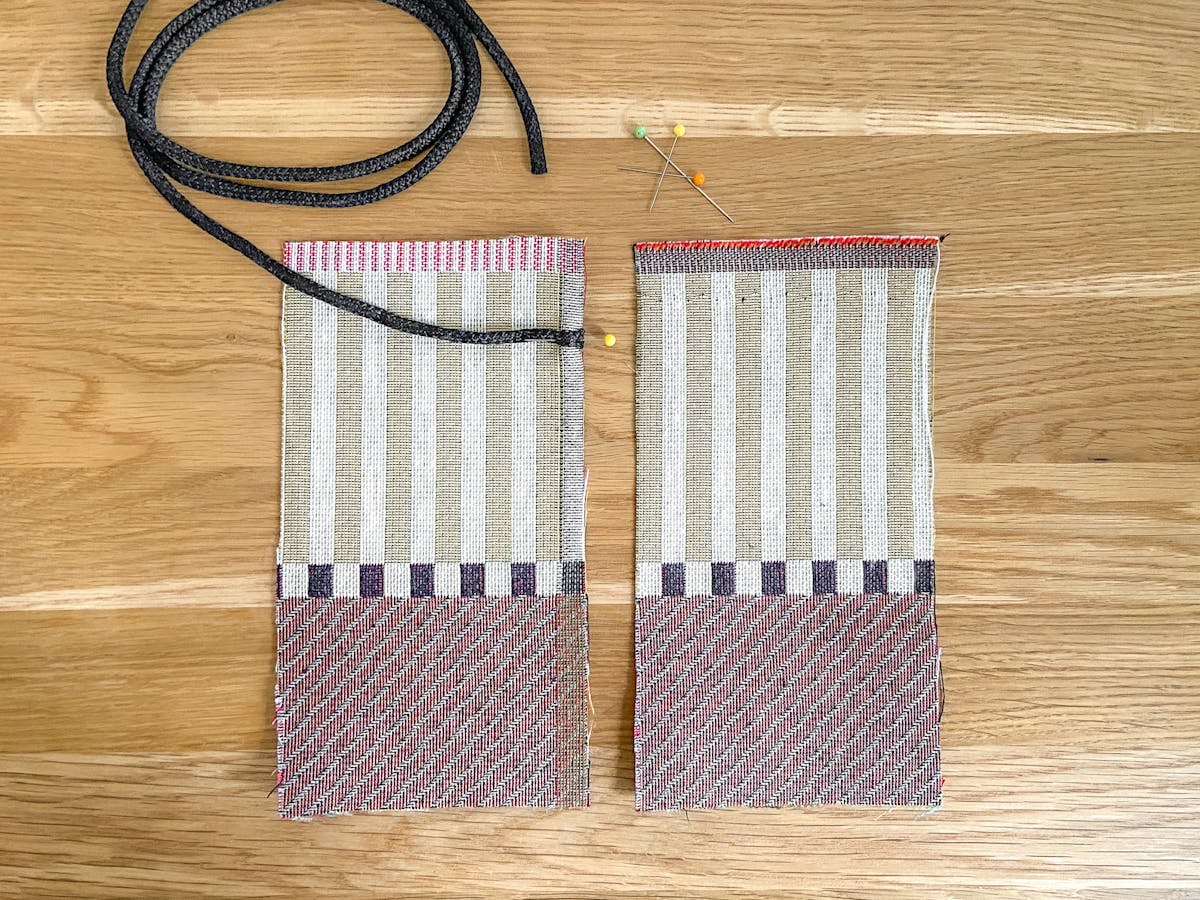
Step 2: Once you have cut your 2 matching pieces, pin and tack your cord into place on the right (meaning nice or face) side of the fabric. The cord needs to be attached on a long side (I did mine on the right-hand side first), just below where the top seam allowance will fold down to. When pinning your cord, make sure that the end of the cord sits flush with the edge of the fabric, so the length of cord sits across the fabric. I have a 1inch seam allowance at the top of my phone sleeve, so I attached my drawstring 1.2inches from the top edge.
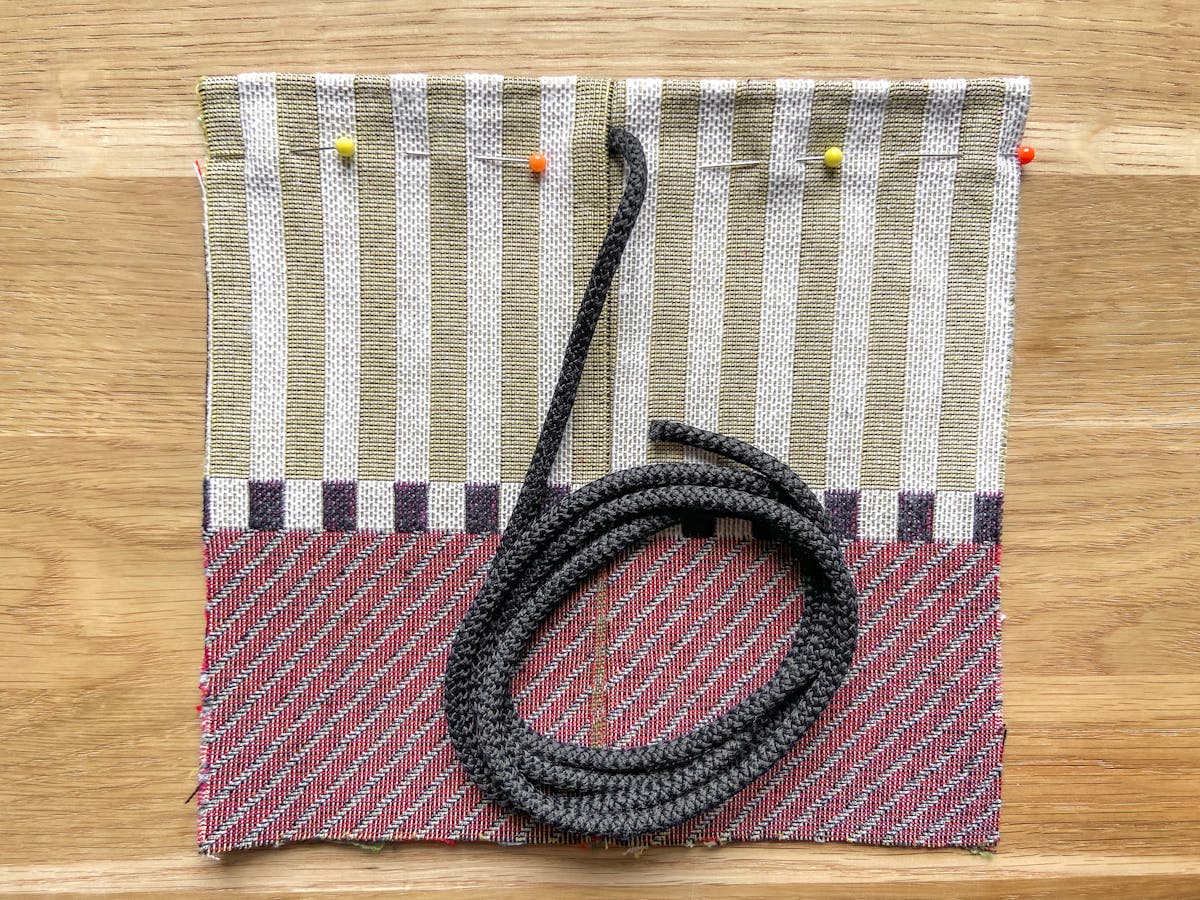
Step 3: Sew both pieces of fabric together using a ¼ inch seam on the side that you have already attached your cord. Sew with the right sides of the fabric together, and make sure the cord is lying sandwiched between these two pieces of fabric so that it will go through your seam. Tip: reinforce the cord by going over the seam with a few rows of stitches so it is extra strong.
Step 4: Iron the seam you just made so it is flat and open. Next, fold the top edge down to match your seam allowance (mine is 1") with the raw edge folded to the wrong side of the fabric, pin, then iron flat. Finally, stitch in place. Tip: If you are including a fastening at the top, now is a good time to position it while your phone sleeve is still flat.

Step 5: Pin and tack the loose end of the cord to the opposite side of your sleeve. I pinned mine to the far left raw edge 0.2" down from the top finished edge. Make sure to match its placement to the completed side so that your phone sleeve will hang straight. And keep in mind the direction you are attaching the cord. The length of the cord should lay across the right side of the fabric, and the end of the cord flush with the raw edge of the fabric (same as before).
Step 6: Once the cord is tacked into place, fold your sleeve so that the two long sides meet with the right sides together (facing the inside), and with the wrong sides of the fabric facing out. Pin together, focusing first that the top folded edges match. At this point, the excess length of cord should be tucked into the middle of your phone sleeve and not sticking out of either long side.
Step 7: Sew the long side and the bottom side of the sleeve together using a ¼ inch seam. Tip: Once stitched, trim the raw edges of the two bottom corners diagonally to remove the excess fabric. Be careful not to cut too close to the seam.
Step 8: The sewing is complete! Turn your smartphone sleeve to the right side, give it a good iron to press the corners out and so the sides are straight, and voila! And don't forget for the final touch, be sure to add a custom label to yours! For simplicity, i recommend an iron on label attached to the outside, so you can add it easily once its already made.


