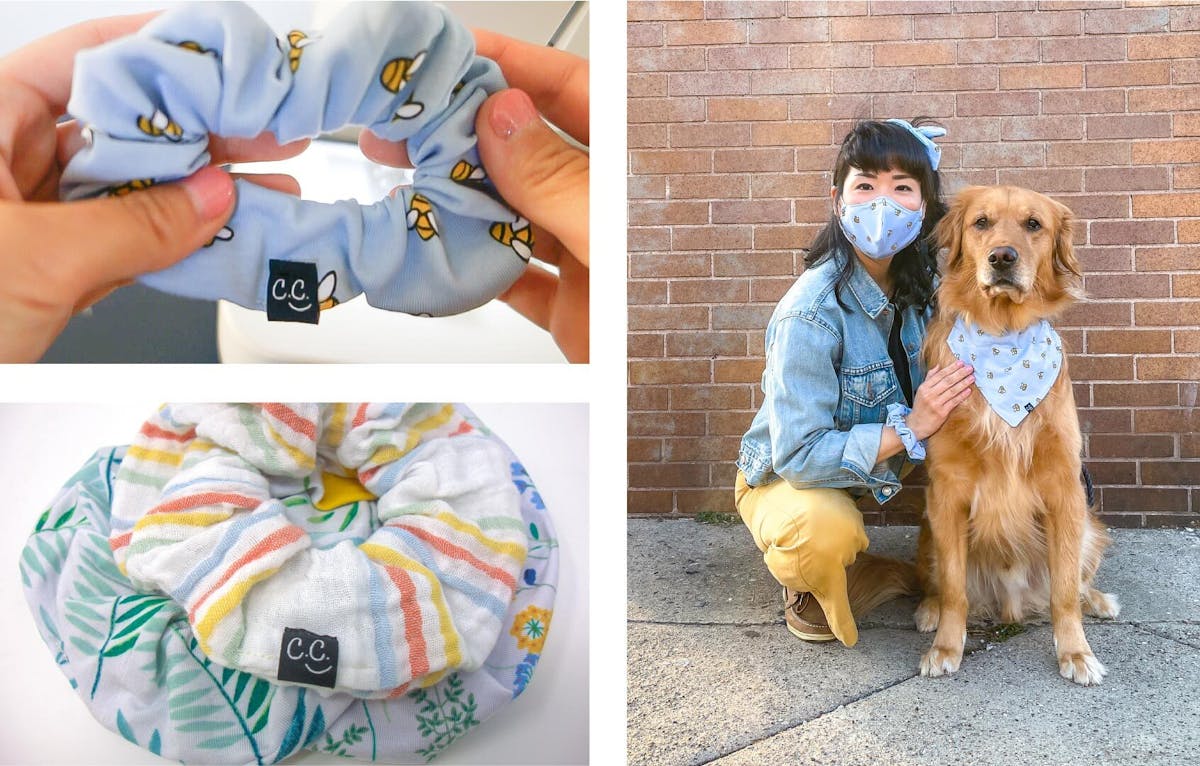
Finished making your handmade mask and dog bandana?! Here is a simple DIY scrunchie project you can make using your leftover scraps of fabric.
Scrunchies are great everyday accessories! You can wear it in your hair, wear it on your wrist, or gift it to your friends and family. The possibilities are endless!
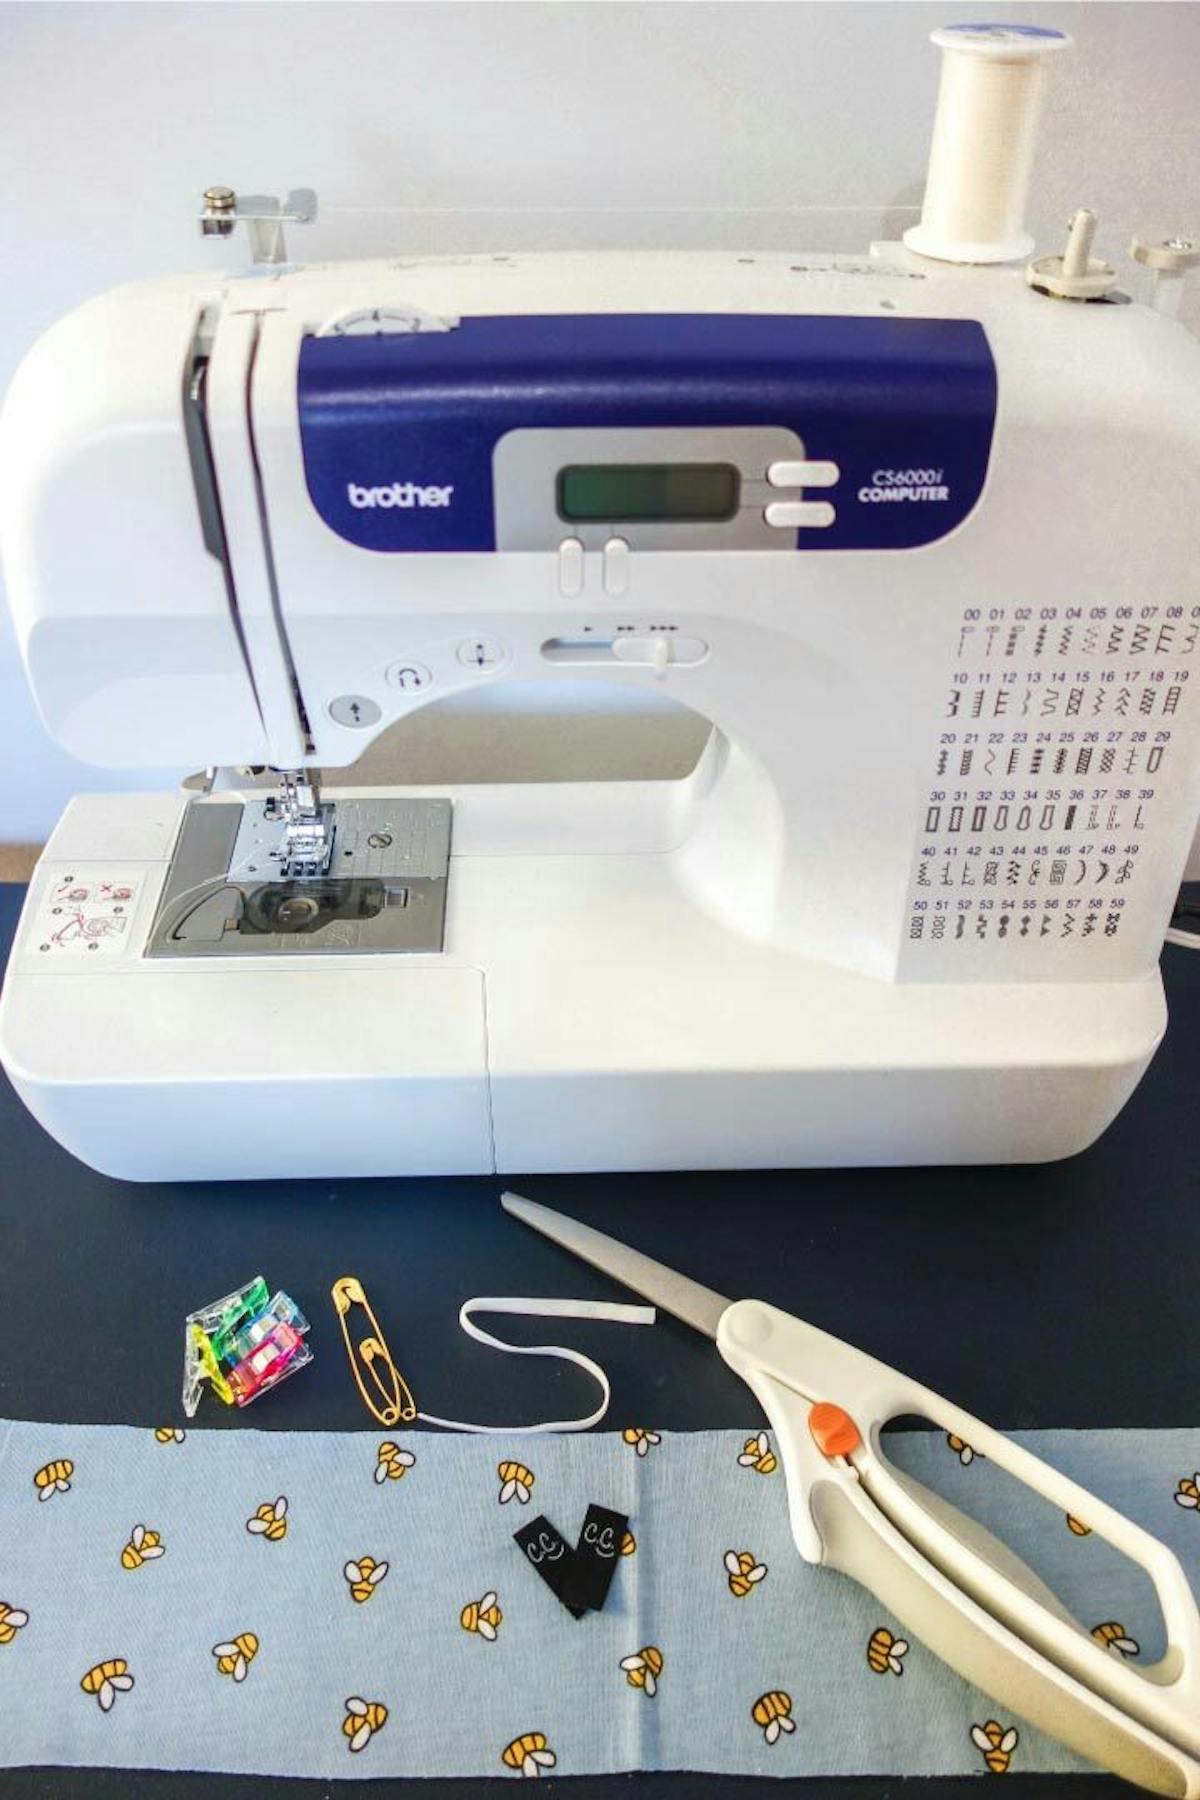
First thing first: gather your supplies.

DIY Scrunchie Sewing Supplies:
- Fabric of your choice [I’m using 3.5 X 22 inch Brush Polyester Spandex Fabric]
- Sewing Machine (ideally, but a simple needle and thread will work, too)
- Sewing pins or clips (optional)
- Scissors
- Thread
- Safety pin
- Elastic [You will need 1/4 inch (6mm) wide elastic in the following lengths.]
- Custom labels for handmade items from Dutch Label Shop.
Whether you're wondering how to sew a large dog bandana for a bigger doggo, or need something for your smaller pup, this DIY dog bandana works for all sizes.
The amount of fabric needed will depend on the size of your scrunchie. I listed the measurement I used above but feel free to cut smaller or larger pieces of fabric. Here are some estimated sizes for you to try out:
- Small – Cut a piece of fabric 2.5 x 20 inches (6.5cm x 51cm)
- Large – Cut a piece of fabric 3.5 x 22 inches (9cm x 56cm)
- Small – Cut the elastic 8 inches (20.5cm)
- Large – Cut the elastic 9 inches (21cm)

Step 1
Cut the fabric to the size of your choosing. Fold the fabric in half vertically, right sides together, and pin or clip into place.

Step 2
Using a ¼” seam allowance, sew down the long edge, where the raw edges are, leaving a 1 inch seam gap in the middle. This will allow you to turn the fabric out later. Backstitch the stitching at the beginning and end of the seam to prevent the stitching from coming apart.

Step 3
Attach a safety pin to one end of the scrunchie and pull it through halfway to match the short raw ends.

Step 4
Sew the short raw ends of the tube together. It may be easier to use a simple needle and thread for this step.

Step 5
Turn the scrunchie right side out using the 1” seam gap.

Step 6
Pull the elastic through the scrunchie using a safety pin and tie the elastic together.

Step 7
Sew the 1” seam gap closed.
Step 8
Find a location to add your personalized woven label from DLS! A suggestion would be to place your label over the seam gap to hide any visible stitching.
Step 9
Make sure to cut any remaining loose threads
And that's it! Congratulations! You just handmade a scrunchie! :). We also have a step-by-step video guide on how to make a scrunchie, if you want to follow along.
Share your own images of your dog scrunchies (and dog bandanas and face masks) with us on Instagram, Facebook, or Twitter using #DutchLabelShop or in the comments below.


