If you've tackled making a face mask, you might have some extra fabric lying around. Why not use those scraps to create a matching bandana for your pup? This is a quick and simple project for you to make your furry loved ones!
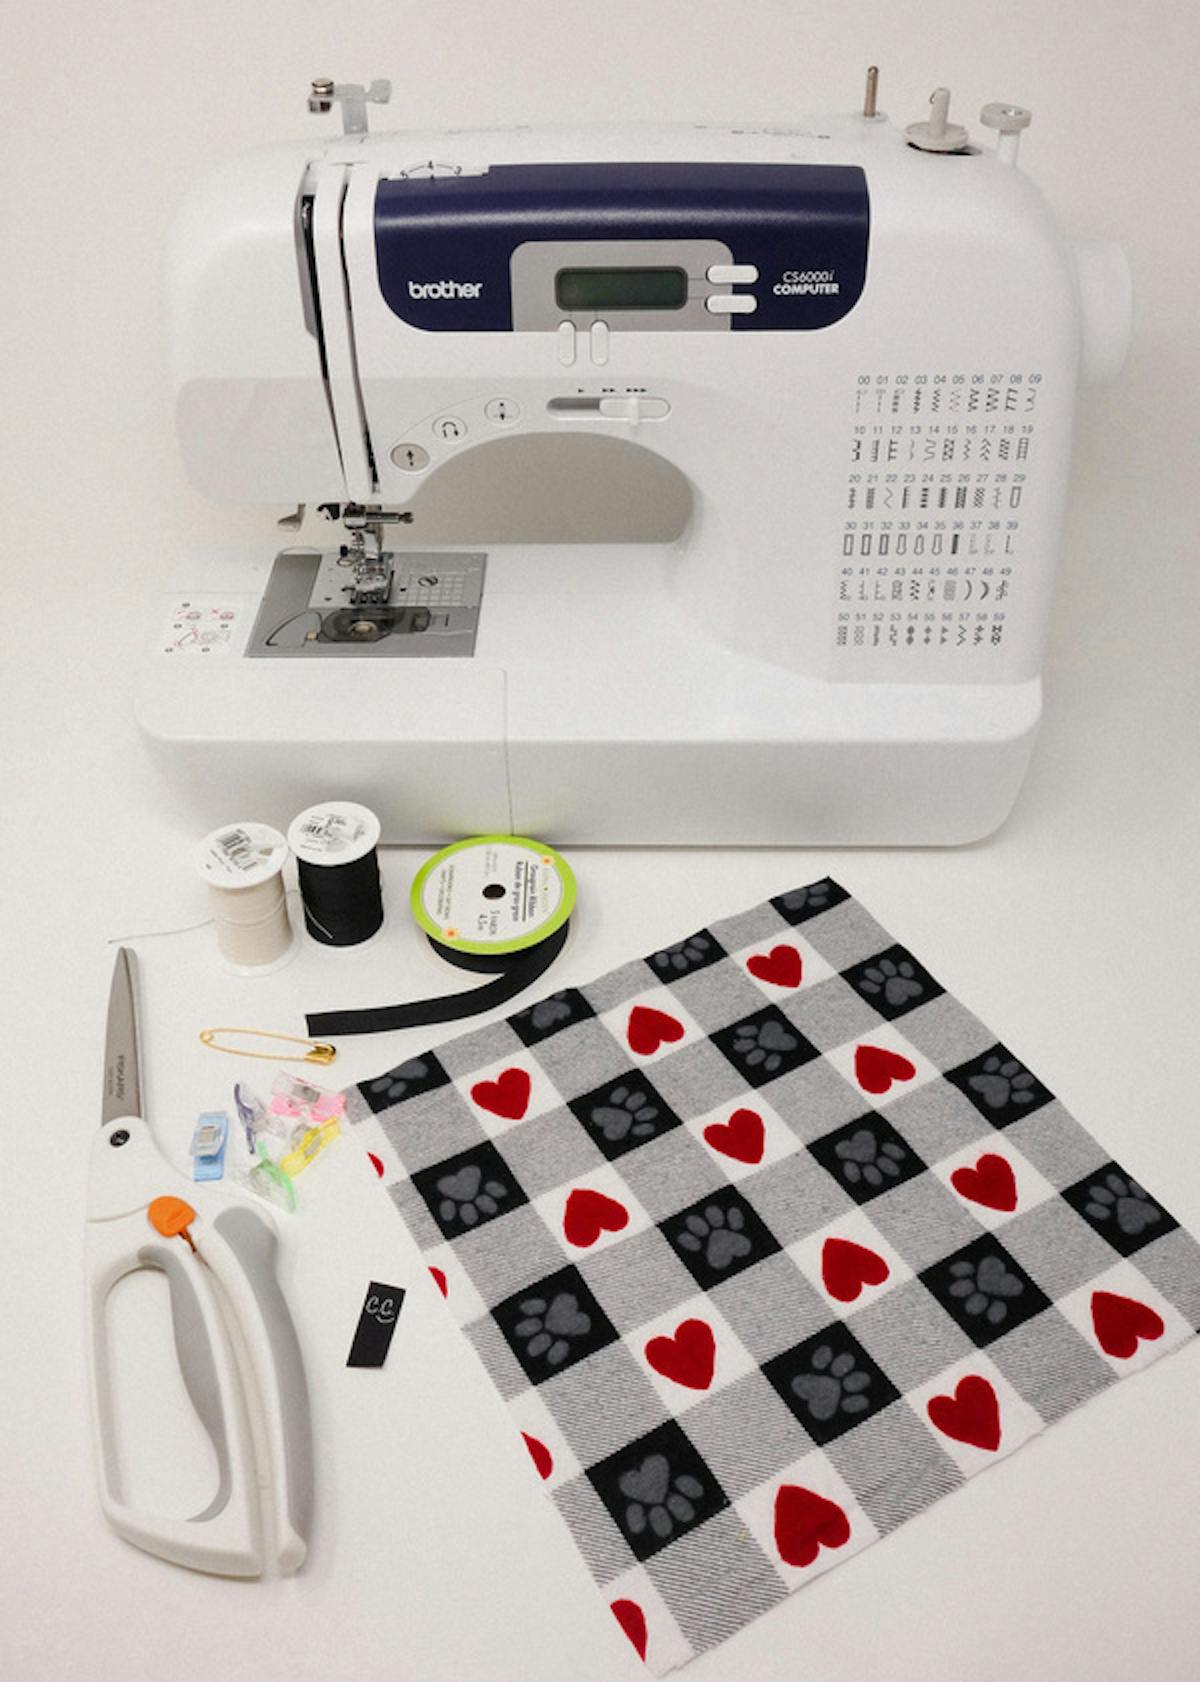
First thing first: gather your supplies:

DIY Dog Bandana Sewing Supplies:
- Fabric of your choice [I’m using 12”x12” flannel]
- Sewing Machine (ideally, but a simple needle and thread will work, too)
- Sewing pins or clips
- Scissors
- Thread
- Safety pin
- Personalized labels from Dutch Label Shop
Whether you're wondering how to sew a large dog bandana for a bigger doggo, or need something for your smaller pup, this DIY dog bandana works for all sizes.
The amount of fabric needed will depend on the size of your furiend. I listed the measurement I used above but feel free to cut smaller or larger pieces of fabric.
Here are some suggested sizes pending the size of your furiend.
- Small- 8” x 8” inches
- Medium- 10” x 10” inches
- Large- 12” x 12” inches
- X-large- 14” x 14” inches

Step 1
Cut the fabric into a square. Fold the square piece of fabric in half diagonally to create a triangle. Make sure the right sides are together. Feel free to use pins or clips along the sides.

Step 2
Start sewing 1” from the corner. Sew a ¼” seam down the right side and up the left side leaving a 1” gap on both corners as a no sew zone. This will allow for the ribbon to be inserted as well as space to turn the fabric right side out.

Step 3
Turn the bandana right side out. Take a pointed object (e.g. pen, marker, scissors, chopsticks) to push out all 3 corners.

Step 4
Cut the ribbon to the length that would best fit your furiend. Take a safety pin with the ribbon attached and pull through the opening to the other end. Tuck the raw edges in and clip or pin ribbon into place. Press the bandana flat.

Step 5
Topstitch down one side and up the other. Remember to cut any loose threads at the end.

Step 6
Fold the end of the ribbon in twice and sew down the inner edge of the fold to prevent the ribbon from fraying.

Step 7
Find a location to add your personalized woven label from DLS!
Step 8
Make sure to cut any remaining loose threads.
And that's it! Congratulations! You just made your own dog bandana! :) We also have a step-by-step video guide on how to make a dog bandana, if you want to follow along.
Feel free to pizzazz up your creations with different fabrics, ribbons, embellishments, or whatever you like! See below for some more examples of endless possibilities!
Share your own images of your dog bandanas with us on Instagram, Facebook, or Twitter using #DutchLabelShop or in the comments below.


