Let me first preface this blog by stating a painfully obvious fact: I am not a good sewist. In fact, I'm not even a great crafter, even though I really enjoy the experience of making something with my hands. Once, I had a working sewing machine in my possession, but that's actually a lie: it belonged to my wife, and she used it to mend, create and amaze me with her skill and talent. So what's my excuse? Why don't I have time to learn and get better? The answer: I am a new father. At the time of this post, my baby is 1 year and 1 month old, and it just happens to be summertime... the conditions seemed right for me to jump (plié?) back into a project. And that project had to be a tutu for my young son.
I'd also like to take a moment and give a well deserved shoutout to Violet at icansewthis.com whose own no-sew tutu project was my inspiration. Check out her truly awesome site for even more great ideas.
Step 1
Now that you've decided to make your baby a tutu (obviously, you think) the first step is to purchase materials. You'll need a few things from your local fabric shop:
-Tulle for the tutu (I went with three different colors and I was so happy about that decision)
-Elastic for the waistband (measure your dancer first, and then get a little extra just in case you want to make one for yourself)
You can get really technical with the length of the finished tutu, but honestly I think the bigger, the better. We bought 3 yards each of blue, pink and purple tulle and didn't look back. For reference, Willy's waist is about 18" (yes he is a chonk).
Step 2
Now that you're back home, it's time to get busy. If you're me, that means waiting until your little ballerina is in bed, going back up to his room several times to soothe, beg, co-cry and possibly fall asleep yourself (standing up no less!) before really diving in.
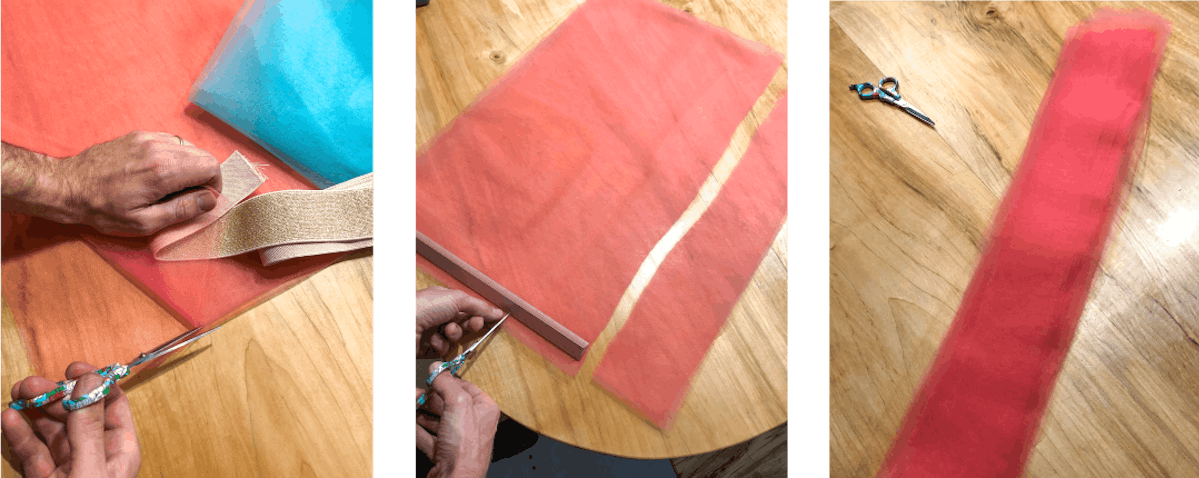
To start, fold your first piece of tulle in half width-wise leaving you with one long 1'5" tall piece. Make sure to cut along the outer fold so that you're creating separate strips.
Now pull out your scissors. Cut from bottom to top every 4 inches to create your strips. Remember: they're going to be twice as long as the finished tutu because we're tying them to the elastic at their midpoint, so don't wig out midway through like I did when I thought to myself, "This is going to look like a weird skirt! What have I done with my LIFE?"
Step 3
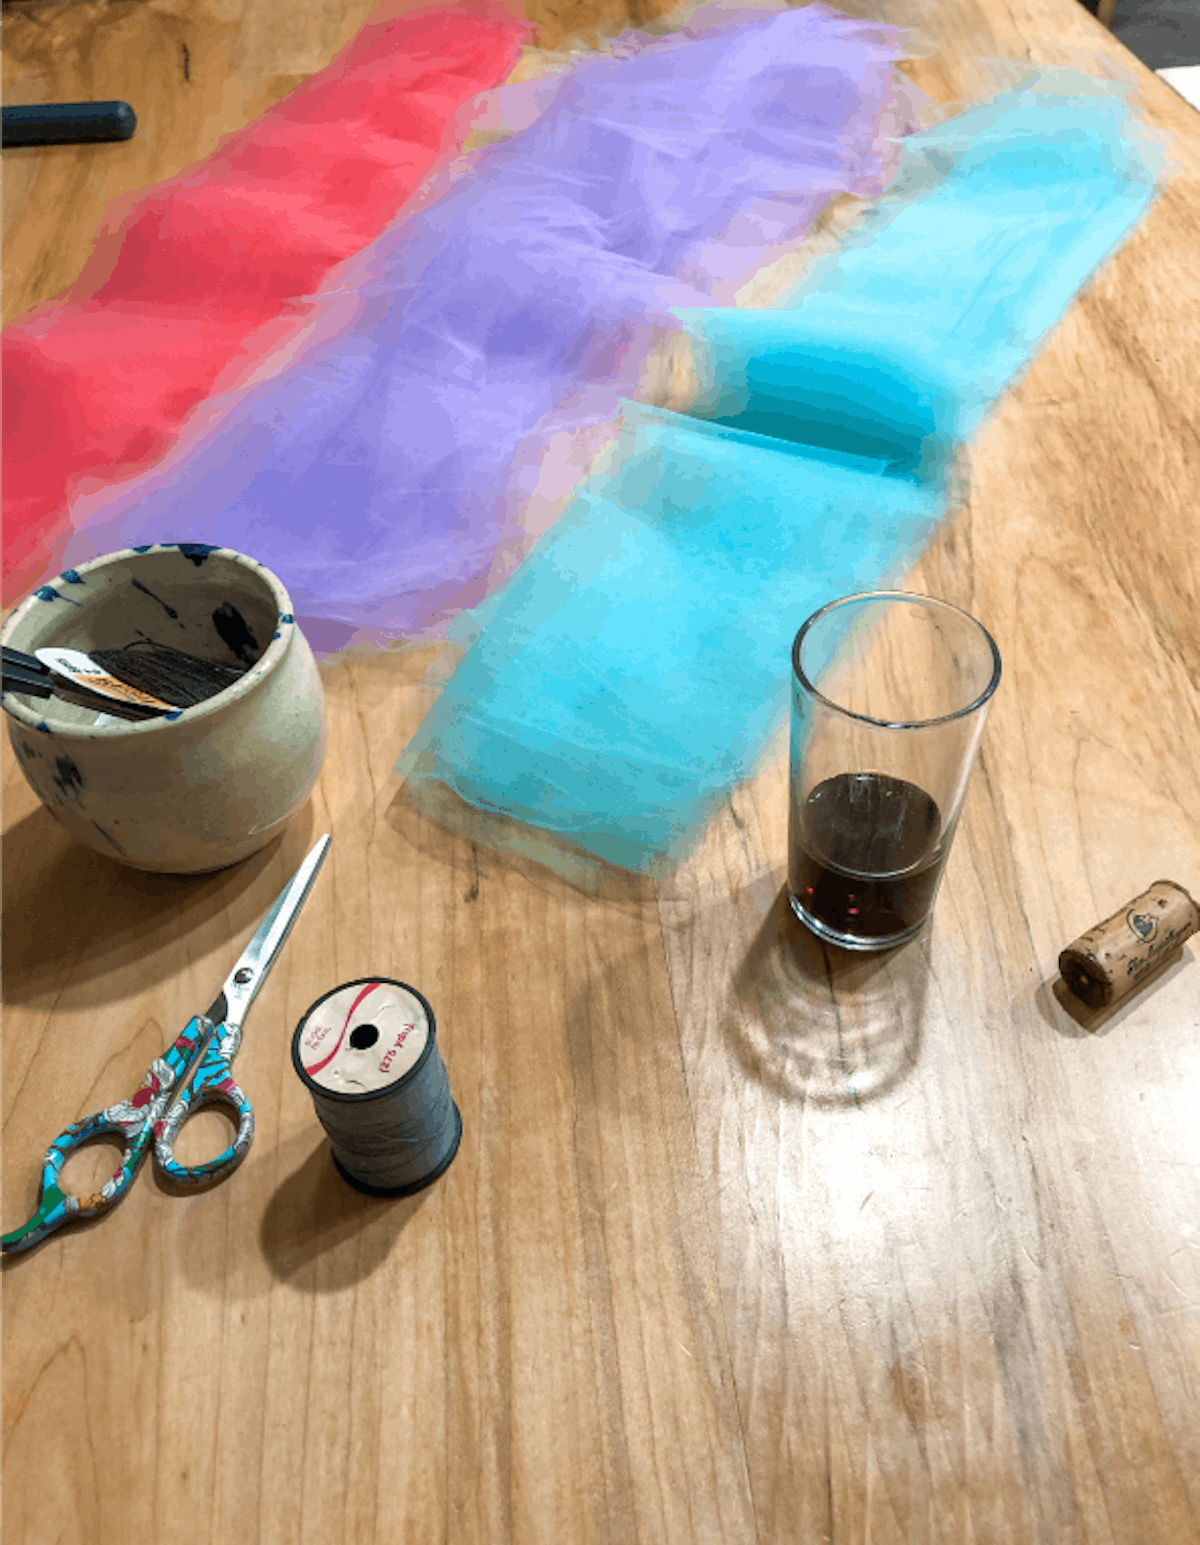
Take a deep breath, and maybe open a bottle of wine to calm your nerves because you're going to repeat the last step with your other colored tulle to create all of your tutu strips. Once you do it a few times you'll find your rhythm and it will feel more natural, and the wine helps, too.
Step 4
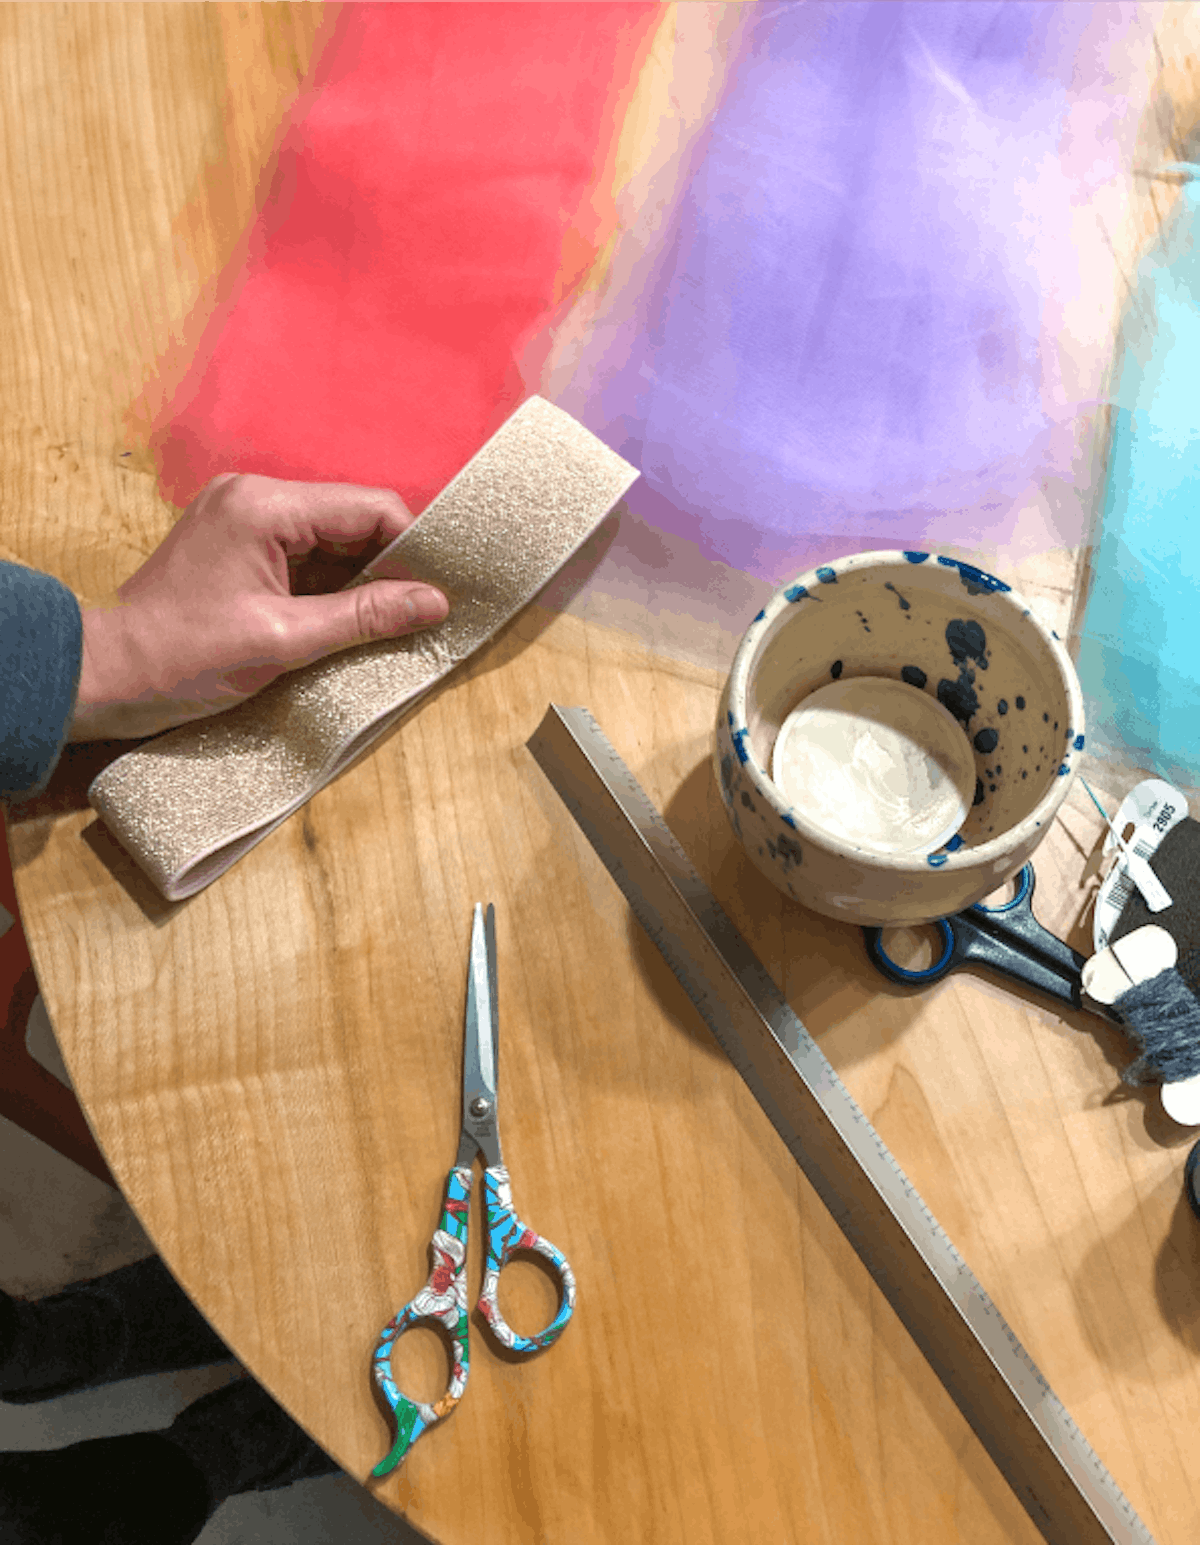
If you're like me, you've been blessed with an emotionally strong and infinitely competent partner who will see you flailing about with scissors, wine, tulle and a ruler for (in her opinion) much too long. Watch as she steps in and sews the elastic into a nice band. At this point, you may decide to mention the extra elastic you bought for an adult-sized tutu, and wouldn't it be kind of fun to have a set? Watch as she continues to Step 5 with a subtle shake of her head.
Step 5
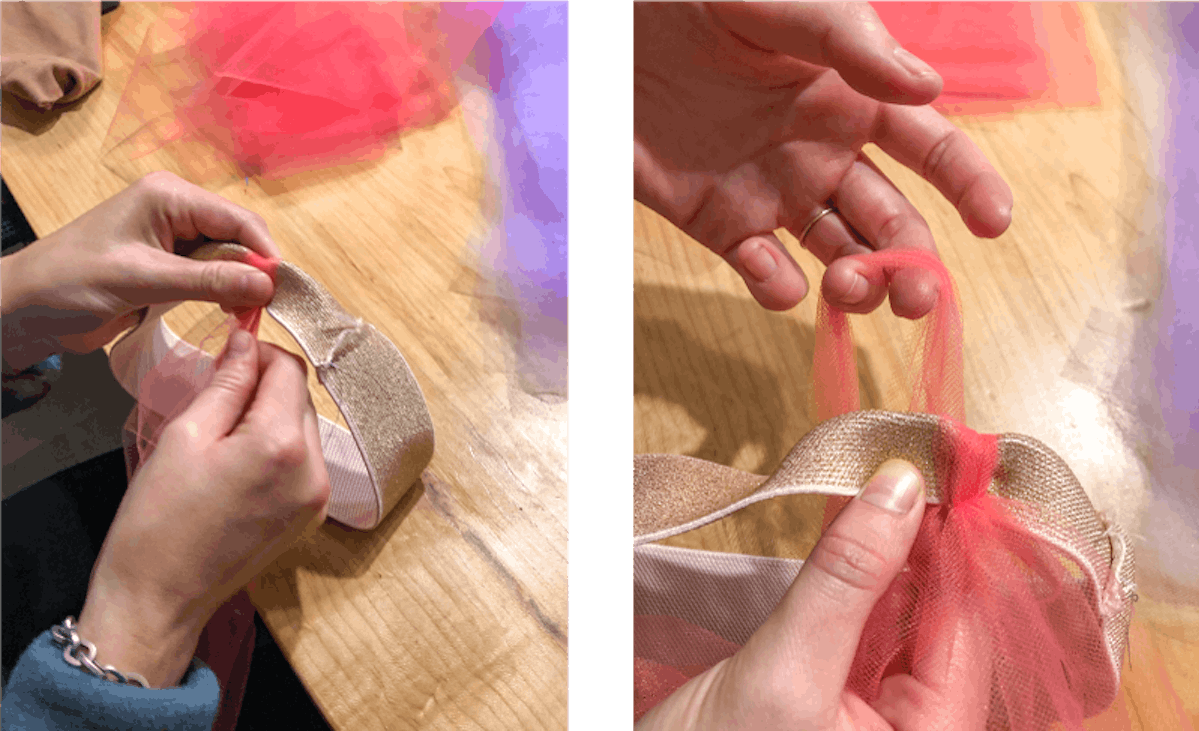
This is the fun part: things are finally about to start taking shape! First take a strip of tulle and fold it in half so that it forms an upside-down "U" (also called a bight), then put the bend in the "U" against the elastic band and thread the two ends of tulle through the loop you've created. This type of knot is called a cow hitch, and it's so easy that I could do it—even after half a bottle of chianti.
Make sure that you pull the knot tightly enough to fold the elastic band in half. Now repeat this step with all the strips, sliding them against each other before you pull tight, until the elastic band is full of colored tulle.
Now wake up the baby and make him try it on!
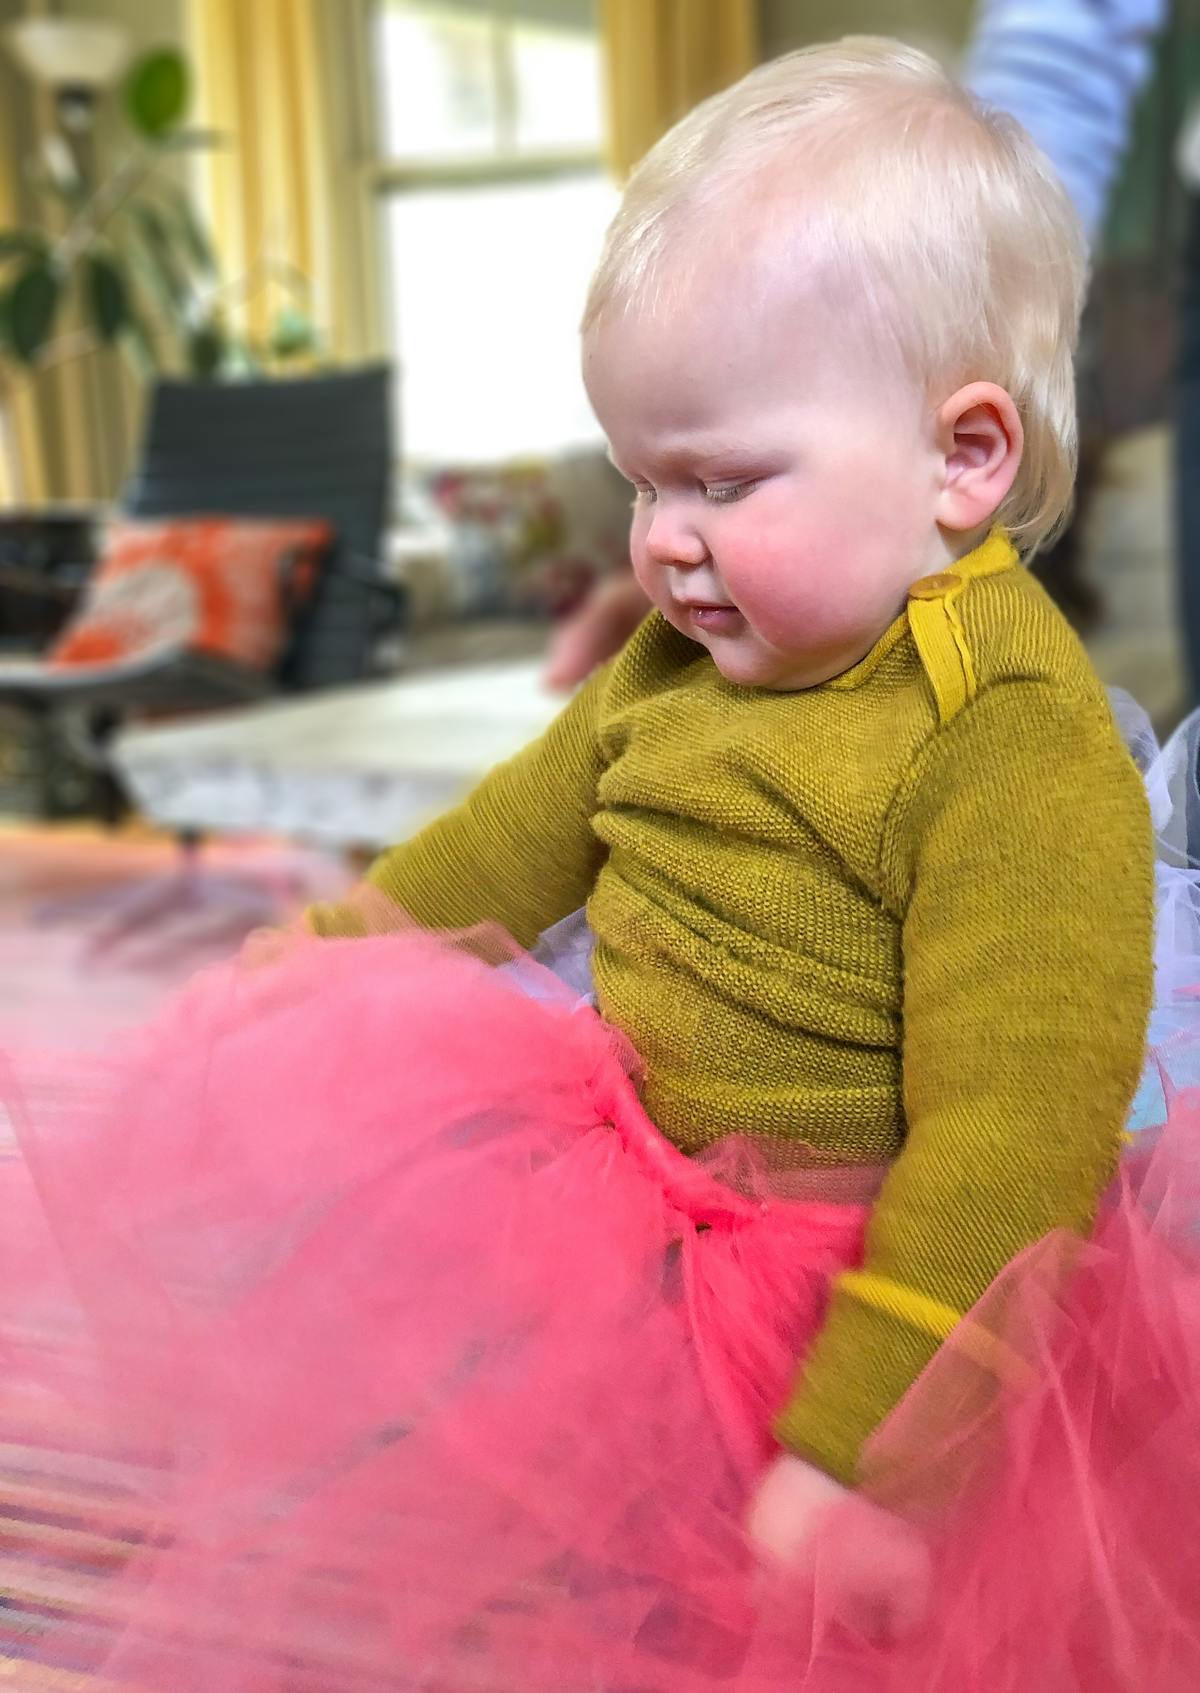
Just kidding! Do not do that! Wait until your baby is fully awake (and the sun is hopefully up) and then present him with his brand new midsummer's tutu. Watch his eyes light up as he frolics to and fro, multicolored tulle bouncing weightlessly with every step. Take lots of photos, and make sure to thank your amazing partner for her skill, help and guidance.
Bonus: If you decide to get extra fancy you can sew a custom woven label right on that waistband, too. Or maybe you want to keep this a no-sew-zone and stick with an iron-on label.

