T-Shirt Quilt are a great way to repurpose and recycle old clothes, preserve memories, and clear out your drawers!
Spring Cleaning Sewing Inspiration
April showers bring May flowers, and also spring cleaning! Just last week I set out to tackle my Goliath – the overstuffed drawers of my dresser. The t-shirt drawer had taken on a life of its own, and after trying in vain to shut the drawer after the addition of a new shirt from a recent half-marathon (I do it for the t-shirts), I resigned myself to the idea that some would have to go.
Easier said than done.
Every one of those t-shirts had special memories. My first concert (at Madison Square Garden no less), my college powder puff team, my 21st birthday bar crawl…after sorting through, I had not found a single one that I could throw away.
Enter the t-shirt quilt! With a few simple steps, you can create a lasting memory out of your old clothes.
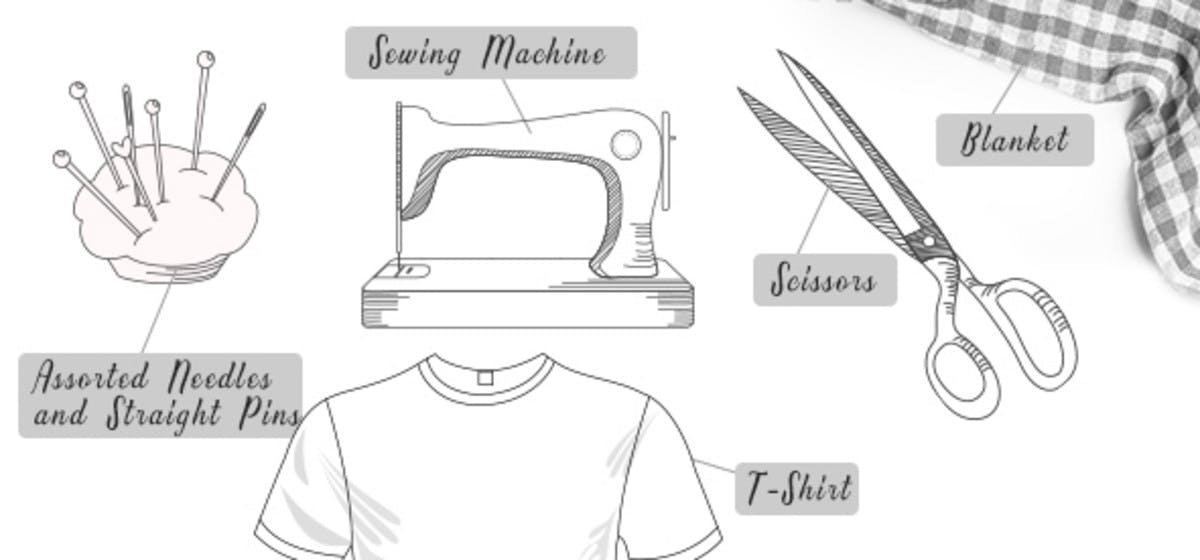
WHAT YOU WILL NEED:

- Scissors
- A blanket size piece of fabric, preferably cotton, to serve as the back of your quilt
- Optional: cotton batting cut slightly smaller than your blanket
- Straight pins
- An iron
- Square or rectangular template
- Sewing Machine
- T-shirts!
HOW TO MAKE A T-SHIRT QUILT
Step 1. Assemble your shirts. Decide which patterns you like the best, and pick out a theme to organize them.
Step 2. Wash all of your shirts. Do not use fabric softener or static sheets.
Step 3. Iron the piece of the tee that you will be using for your quilt. Keep your iron on low or iron on the back side of the fabric – ironing directly on the design could cause some designs to melt.
Step 4. Spreading out each tee individually, draw an outline around the pattern with your template. Cut out the square, leaving about a half inch around the perimeter for the seam.
Step 5. To prevent the t-shirt from losing its shape and to make it easier to work with, iron a non-woven fusible interfacing or lightweight, fusible tricot interfacing on the back side.
Step 6. Once you have your blocks of fabric assembled, sew together in columns or rows, matching each block to another, front side facing into each other.
Step 7. When you have constructed the quilt face, match to your cotton backing, again facing front sides together, so that the raw side is facing out. Pin together (along with optional batting for added comfort) and sew along the seams, leaving half of one side open. At this point, you will need to turn the blanket inside out.
Step 8. Finish off the raw seam. Hand whip stitch this portion, or for a quick and easier option, use iron-on seams.
Step 9. If you chose to put batting in your quilt, take a needle and thread and sew a quick anchor stitch in the center of every t-shirt square. This will stabilize the batting and help the blanket maintain its shape.
Step 10. Sew a personalized label on the quilt you've just made and enjoy your creation!
Now what are you going to put in that empty drawer?


